Weaving How To: Warping Low vs. High Density
I think that it is essential for a loom to be versatile enough that you can execute any design you imagine. That is why my husband and I designed and built my looms so that you can adjust the length and tension of the warp, as well as making it wide enough to accommodate small projects along with big ideas. But, another nifty trick is changing the density of your warp strings.
PURCHASE A LOOM HERE >>
All gone? Message me!
Why do you need to care about this?
Options are always better!
A low density warp
is perfect for beginners and quick projects with large yarn. Imagine you are working on a soumac weave with large caterpillars of roving crawling across. Having a low density warp is perfect to keep your knots wide and fluffy.
A high density warp
is my personal favorite because it allows you to create more shapes, namely curves. The more options you have for your weft to stair-step up, the smoother the sides of your shapes appear. High density warp is essential for creating details and although it takes more time, it will result in a tighter weave.

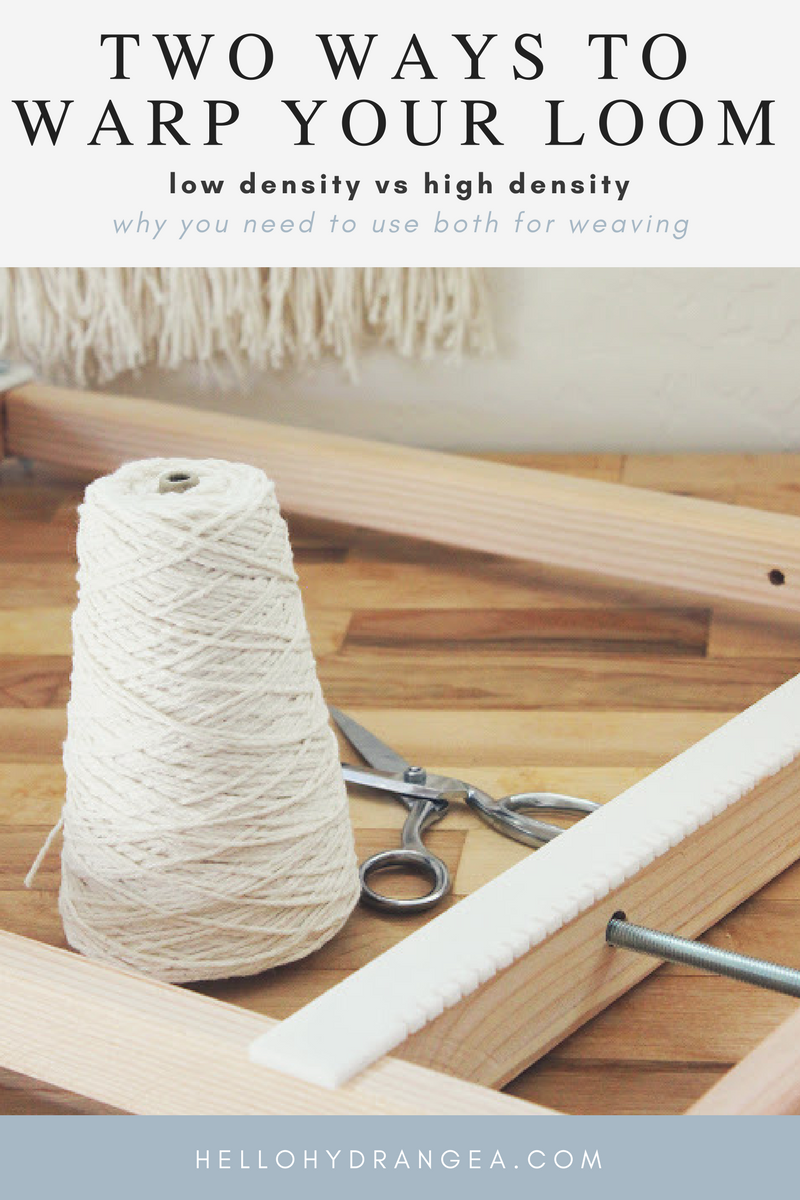
Let me show you how to easily create both types of warp. First, there are two ways to tie on warp. You can either double knot it quickly around one notch or more securely around the whole frame. Either way works fine!

First, low density warp is achieved by looping your warp around every other notch. That means that even though each slit will have a warp string either exiting or entering, only every other notch will have a loop from your warp wrapped around it.

Now, high density warp is achieved by looping your warp around every notch. That means that though each slit will have two warp strings, one entering and one exiting, and every other notch will have a loop from your warp wrapped around it.

It's that easy! Want to get really adventurous? Try a weave with both types of warp in it... I'm not sure how it would work, tension-wise, but it would be fun to experiment!


