Punch Needle on Metal Hoops
Click below to learn all about my online punch needle video class.
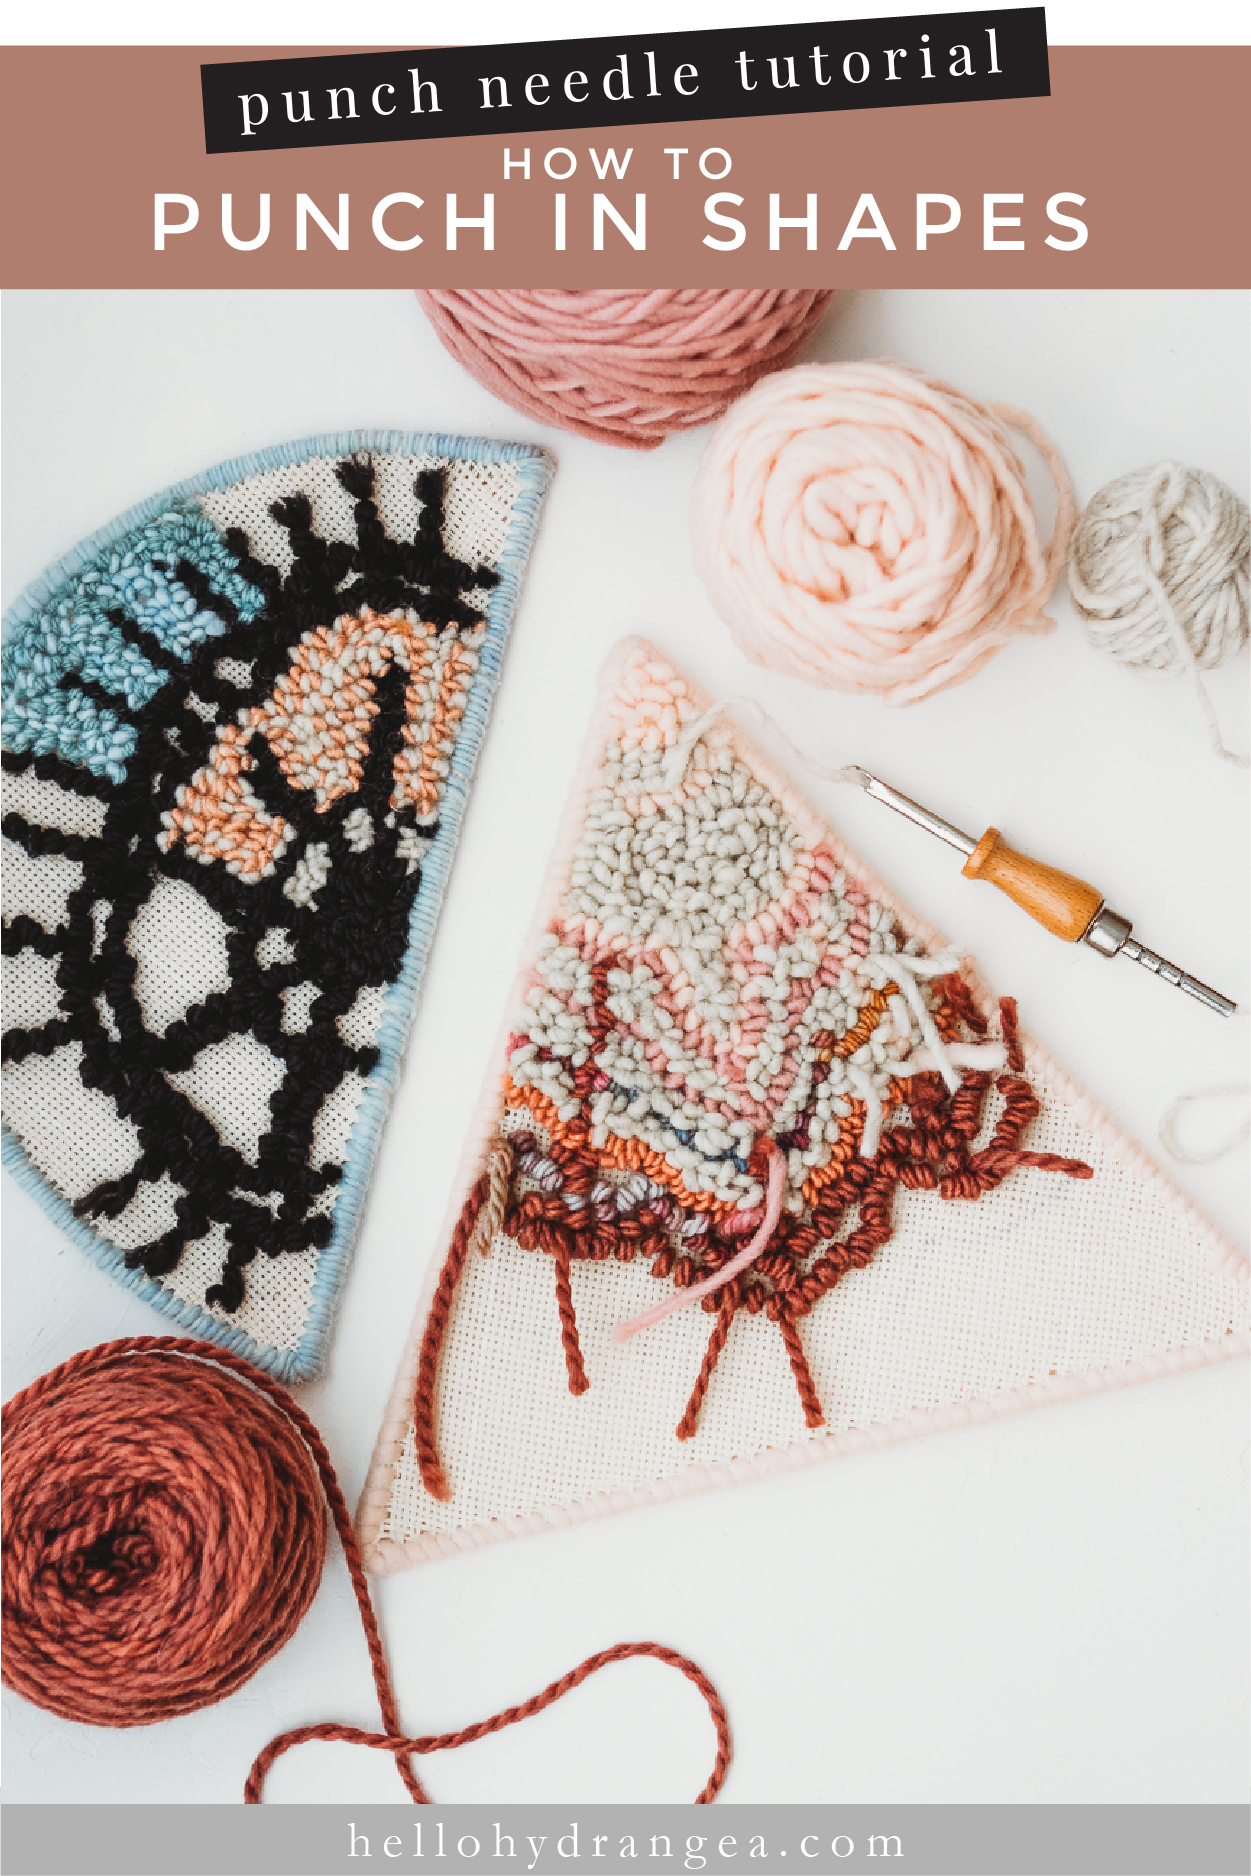
You can use punch needle to get super creative, including making usable items such as rugs, pillows, bags and cushions! If you want a fun project that’s completely unique and solely about punch needle for the sake of fun, try this method.
You can use any metal shapes you can find. Metal circle hoops are the most common, but I also offer triangles and soon semicircles in my shop. Click below to shop!
The best part about the project is that once you are done, you can add any embroidery or beading elements… the project stays on the metal shape, so you are building it into its own frame! As for the rest of the supplies, and the actually punching techniques, you can find all of that in my online punch needle video class. Enjoy!
Glue a Border Along Cloth Place the metal shape on the fabric for reference, and use tacky glue to add a border 1/2” around the shape, on the cloth. Brush into the fibers of the cloth. Let dry.
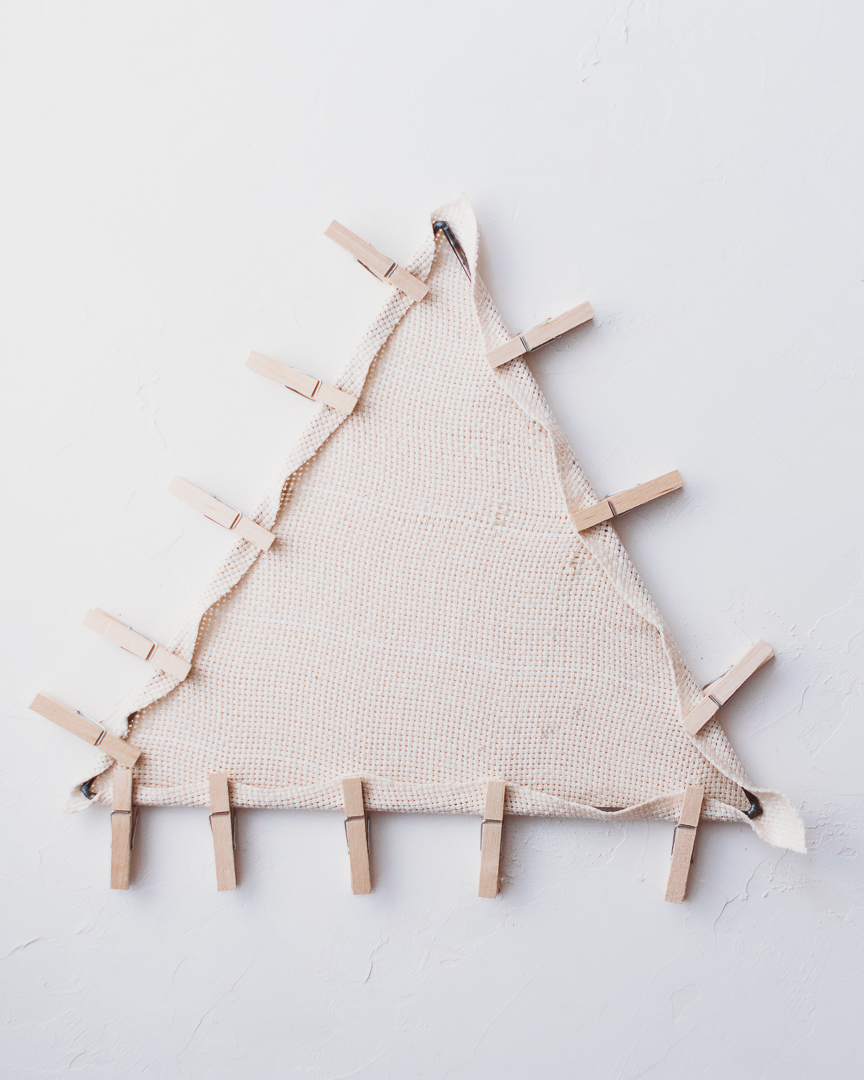
Cut, Stretch and Clothespin Once dry, cut the cloth along the dried glue to prevent it from fraying. Begin stretching the cloth around the edges of the metal shape, as tight as possible, and use small clothespins to hold it in place. Add small dabs of glue onto the outside edges of the metal frame before clothespinning to give the cloth extra durability. Let dry.
Whip Stitch Around Edge Use a large eye needle, and any yarn or string to whip stitch around the border of the frame, going through the front and back pieces of cloth. Remove the clothespins one by one as you stitch near them.
Draw on Pattern Use a marker to sketch your pattern onto the cloth.
Punch from the Backside Grab your yarn and your favorite punch needle and work on your design from the backside of the frame, so that the loops show on the front. (Or, you can do it from the front to show off the embroidered side. Just pay attention to what side you punch from.) Make sure to lift the backs of the fabric flaps and punch underneath, getting as close to the edges as possible. You can learn more about all the best punching techniques with my online punch needle video class! Note: Depending on how well you stretched the cloth, there might be some areas that are looser than others, mainly the sides, just do your best and embrace the project for what it is!
Glue Down Fabric Flap Once your punching is complete, use glue under the backside flap to help it lay flat and protect the edges of your punched project. Now add any extra embroidery, beads or sequins to the front and an optional loop at the top to hang it!
You can also punch from the front side of the fabric to showcase the flat embroidery side of punching, like in this project above!


