
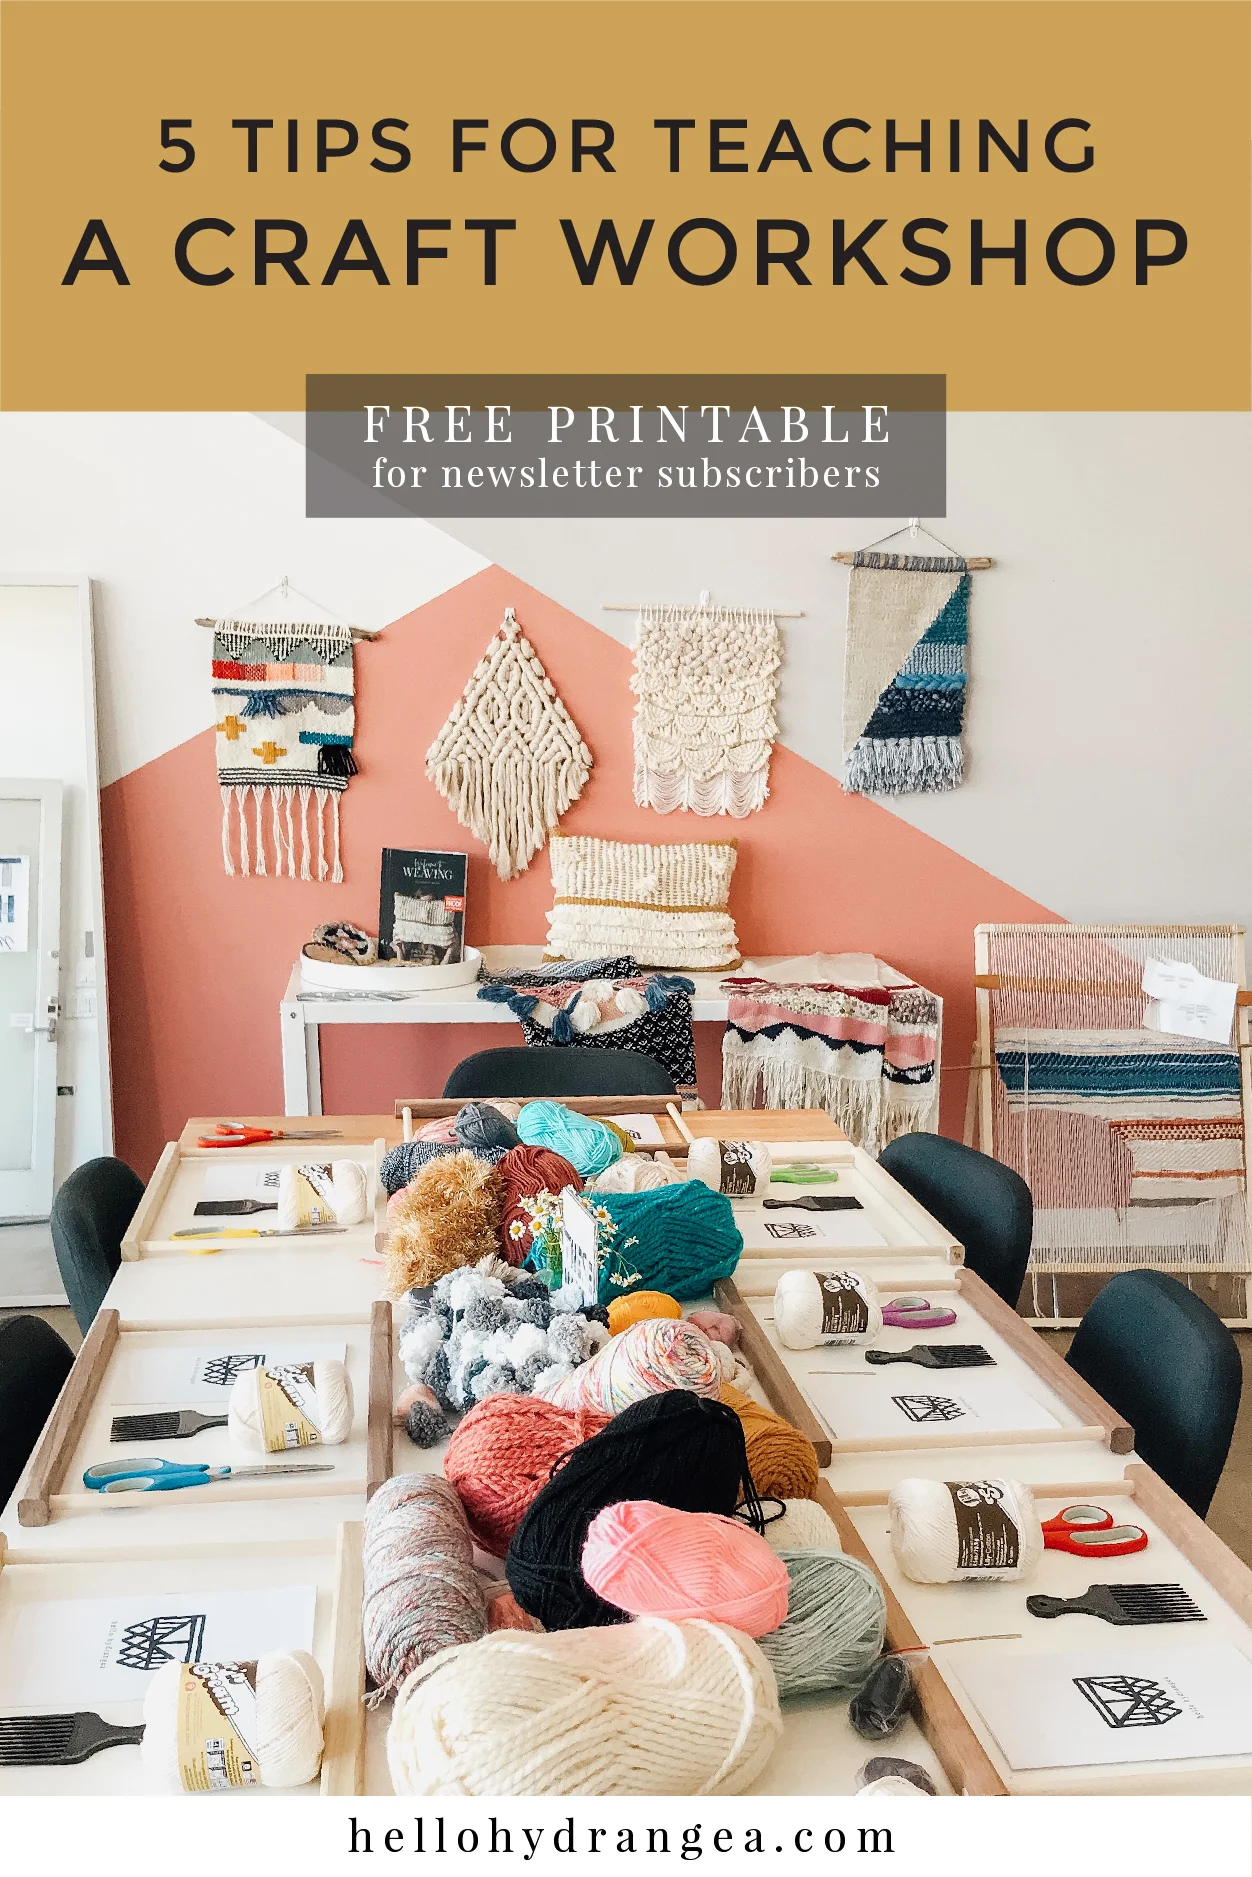
5 Tips for Teaching a Craft Workshop
Did you know that less than a year ago I was too nervous to teach in-person workshops?
I had taught thousands of people to weave with my online video classes, but the thought of standing in front of a group and teaching in real time, with my fumbly fingers and dislexic brain made me run chicken! I decided to face the fear and now workshops are absolutely my favorite part of the job.
If you have recently reached out to me with questions about how to get started, what to expect, what to bring, teaching format, etc, this post is for you.

HAVE FUN. Wow - super cliche, right? But seriously. Do you know your stuff? Are you passionate about what you do? If you said YES! to both, then you have nothing to worry about. Bring that knowledge and excitement to the workshop with you and everything will be great.
(Okay - I’ve had some people contact me after a difficult workshop, feeling like they would puke the whole time because things didn’t go the way they expected. Guess what? I’ve had my share of nightmare-bad-experience-out-of-your-hands workshop scenarios. One time the supplies were supposed to be shipped to the venue and as I was setting up the morning of the workshop I realized that 6 LOOMS WERE MISSING. With students driving in from over an hour away. Once I realized 10 minutes into a macrame workshop that my dislexic brain had miscounted and I had only brought HALF THE AMOUNT OF ROPE everyone needed. Major forehead slap. Another time I had students mess up the times and dates and show up on the wrong day, with no extra seats to give them. Tip: ALWAYS BRING EXTRA. You just have to take a deep breath, give yourself a quick pep-talk and problem solve with a smile on. Since I know my stuff and I was passionate about what I do, both workshops happened with some minor modifications, and everyone ended up happy!)
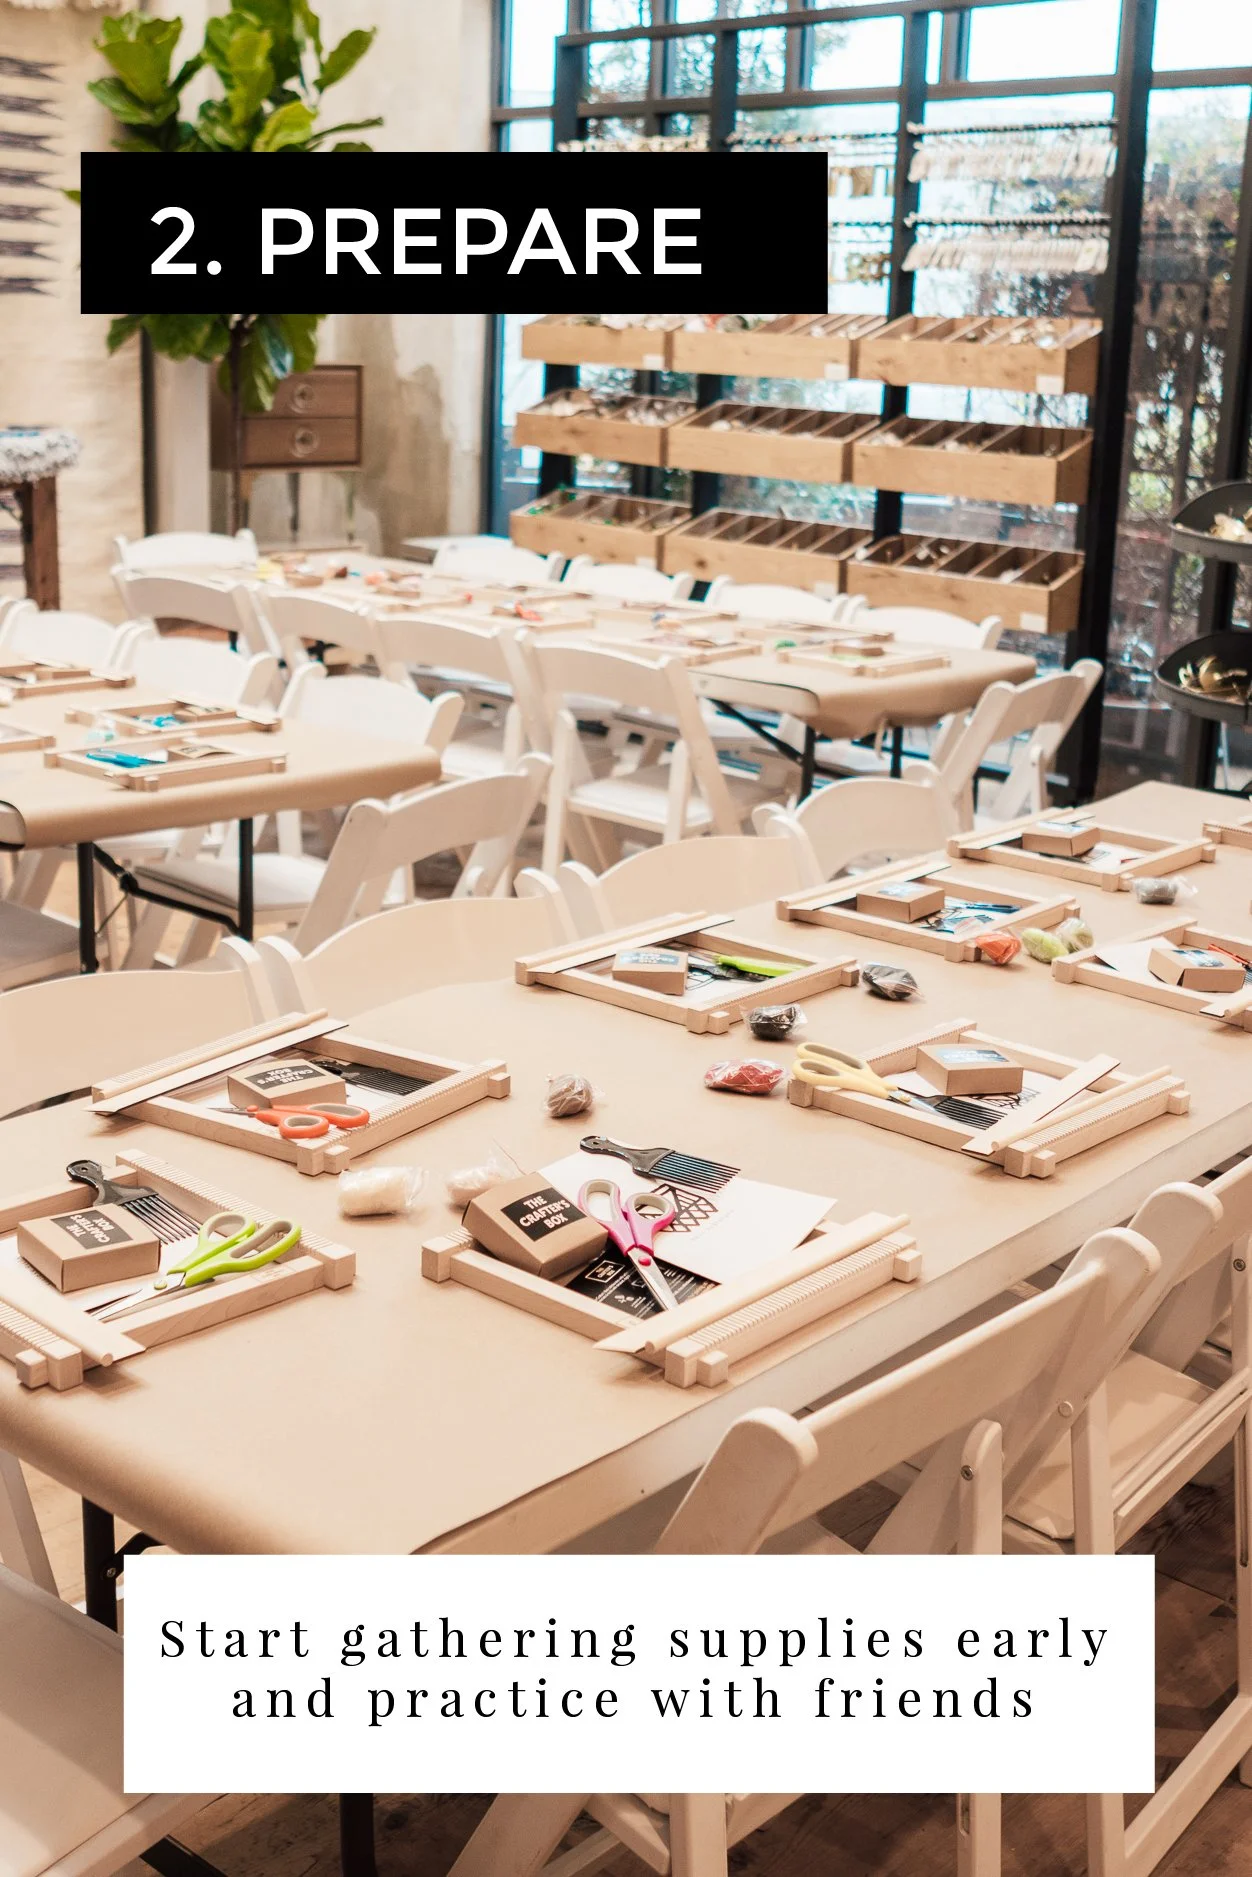
PREPARE. Don’t wait until the night-before or the morning-of to plan. About a week before the date, once I have a round number of how many students to expect, I start gathering supplies. (Did I mention, ALWAYS BRING EXTRA?) When I first started teaching, I also ran through the teaching format in my mind and even practiced out loud a few times so I wasn’t left standing in front of a dozen students forgetting what to say. It’s one thing to film yourself and be able to edit perfectly for online video classes, it’s another doing it on the spot, with limited time and a group of people staring at you. Don’t be scared - it’s also a lot more fun if you’re prepared! It might even help to invite a few friends over for a mock workshop before the date, to help you practice and anticipate what kind of questions students might have. A tip that helps my self-confidence: I treat myself to a new top, shoes, or earrings before each workshop because a new outfit always makes me feel like I can take-on the world. You get that, right?

THINK LIKE A BEGINNER. If you’ve been weaving (or whatever craft you’re teaching) long enough to be teaching it, you’ve moved past the beginner stage. This is great because it means you have practiced your art and know some great tips and tricks to share. But it also means that you are past the newbie stage, which most of your students are at, and it can be hard to return to that level. An example is terminology. Special words such as ‘warp’, ‘weft’, names of tools and materials are second-nature to your vocabulary, but may be foreign to your students. Take the time to explain anything they might need to know before you jump into the hands-on part of the workshop. Try to look at your craft and methods with new eyes, so that you can explain things as simply and clearly as possible. Use universal words to explain each movement you make and show them slowly, pausing after each motion and making sure everyone can see what you’ve done.

HAVE A FORMAT. It took you days, weeks, months to learn your craft… but during workshops you have to teach it to a group of students in just a few hours. My weaving workshops are usually 2-3 hours long. Think about what you want to cover in that short amount of time, and have it blocked into flexible time slots. Keep a watch on you so that you aren’t constantly looking at your phone and stick closely to the time you’ve allotted for each section. It can vary based on what you want to cover and what you are teaching, but my workshop format goes as follows:
Start on time, even if you are missing people. You need every spare minute you have and its unfair to those who are on time. Start with a brief introduction of yourself, how you started this craft and where it has led you. I like to ask ‘By a show of hands, who here has woven before?’ and if the group is less than 12 we might even go around the room, introducing ourselves, where we’re from, and sharing a hobby or interesting thing as an ice breaker. After the introduction I go over tools, explain terminology and what they can expect from the rest of the class.
To start, I sit down and invite everyone to stand up (or sit, if they are close by) and gather around. I teach them the first two steps (warping and twining) and then send them back to their spots to get started as I walk around and help. I like having everyone gathered around to watch me first because if everyone tries to work AS I am working, they are looking at their tools instead of at me and are usually already confused before I’ve finished the demonstration.
After about 30 mins I have everyone gather around again to watch me demonstrate the meat of the class. Even if everyone isn’t quite done with the first part yet, I have them set their tools down where they are and come watch. I quickly teach about 6 basic techniques (I have a printable workbook they can refer to with diagrams), answering any questions and showing examples, and then send them back to their spots again. For the rest of the workshop I walk around, answer questions and help individually. This has been the best format because its a great mix of group and personal teaching!
About 10 minutes before the workshop is scheduled to end, I wrap things up with a conclusion at the front, let them know what tools they can take home with them, how they can contact me with questions, how to finish if they didn’t get a chance to, and what other classes/products I offer. Don’t forget to take a photo of the group at the end for Instagram!
*Note: if you are partnering with a venue, the host of the location might also want to add their own wrap-up to plug any upcoming events they have, so ask if they have anything to add when you are done.

DON’T PUT PRESSURE ON YOUR STUDENTS. This goes back to tip #1; Have Fun. Leave any stresses you have about the day or the week at the door. When you stand up to teach in front of your students who have paid money to learn, taken the time out of their schedules and possibly traveled to be there, you should only bring good vibes and a great attitude with you. This time is THEIRS. Let them know how excited you are to meet them, spend this time with them doing what you love and how you can’t wait to see what they make. Yes, they paid to learn from you, but they also signed up because this is a treat and they want to have a good time. Perhaps they even came with a friend or a family-member to make a date out of the event. Don’t stress them out about having to finish on-time or make them feel frustrated if they are having trouble grasping the techniques. Encourage them, modify techniques for them and laugh with them. Don’t let them see you get stressed, and buoy them up if you see them start to get stressed. Your goal during workshops isn’t to send home a group of professional crafters, but to send your students home with a smile.
*** Note: For your own enjoyment, I don’t recommend charging for your workshops if you don’t know your craft backwards and forwards. It’s crazy what kind of questions people will have in the moment - questions you didn’t plan on, and you need to be confident in your knowledge, or else it will be more stressful than it needs to be for you. I don’t add this to make you feel inadequate - just to encourage you be honest about your current skills and abilities. Workshops might be something you want to tackle down the road, but you need to practice the skills yourself first, so this is a great reminder that it’s great to prepare now and plan ahead!

I hope these tips help ease any fears of the unknowns as you consider teaching workshops! Crafting alone in your home is lots of fun… but being able to spend a few hours with other makers, talking about what you love and helping each other is the best thing ever! I look forward to my workshops so much.
If you want to learn more about the specifics of what I bring for each student and a pdf weaving-diagram booklet you can print out for your attendees, sign up for my newsletter to get access to my Free Resource Library.