How to Make a Diamond Scallops

I am back at it in 2022, ready to get making again! I wanted to kick off the year with a free tutorial on how to make something really beautiful— diamond scallops! I love the look of this and know you will add you own spin on it and make it feel extra special! There is also a video tutorial if you want to see how it is done!
Don’t forget to subscribe to my newsletter to get freebies, updates, and always have your next project waiting in your inbox.
Watch the YouTube video here - don’t forget to subscribe! Then continue scrolling for written instructions.


1. The first step is to measure and cut some rope. You will need scissors and a ruler. Your rope comes as a twisted 3 ply so you will cut it and then unravel it into three separate lengths. The first cut you will need to make is 12 feet long. Fold the length of rope in half and hang the center fold on a hook or nail. Use a thin piece of rope, or yarn to create a gathering knot about 2 inches below the fold, wrapping all of the strands of thick rope together. Now unravel the left tail.

2. Begin with the tail closest to the center of the gathering knot. This will be your first lead cord. Tie a clove hitch knot with your first working cord, which will be either one of the other two tails. Repeat the knot with the last tail on the left. When you have two clove hitch knots on the lead cord, hold the same lead cord diagonally, to the bottom right at a 45 degree angle and add the same working cords on again as clove hitch knots to complete half of a diamond scallop.

3. Now, unravel the right cord so that you have three separate tails. Mirror the knots you just completed on the left, by beginning with the tail closest to the center of the gathering knots and using it as the lead cord, adding on two clove hitch knots and then adding them on again, bringing the lead cord back to the center.

4. Now it is time to connect the two halves. Use the right lead cord as the lead cord, and the left lead cord as a working cord, tying one more clove hitch knot to connect the two.

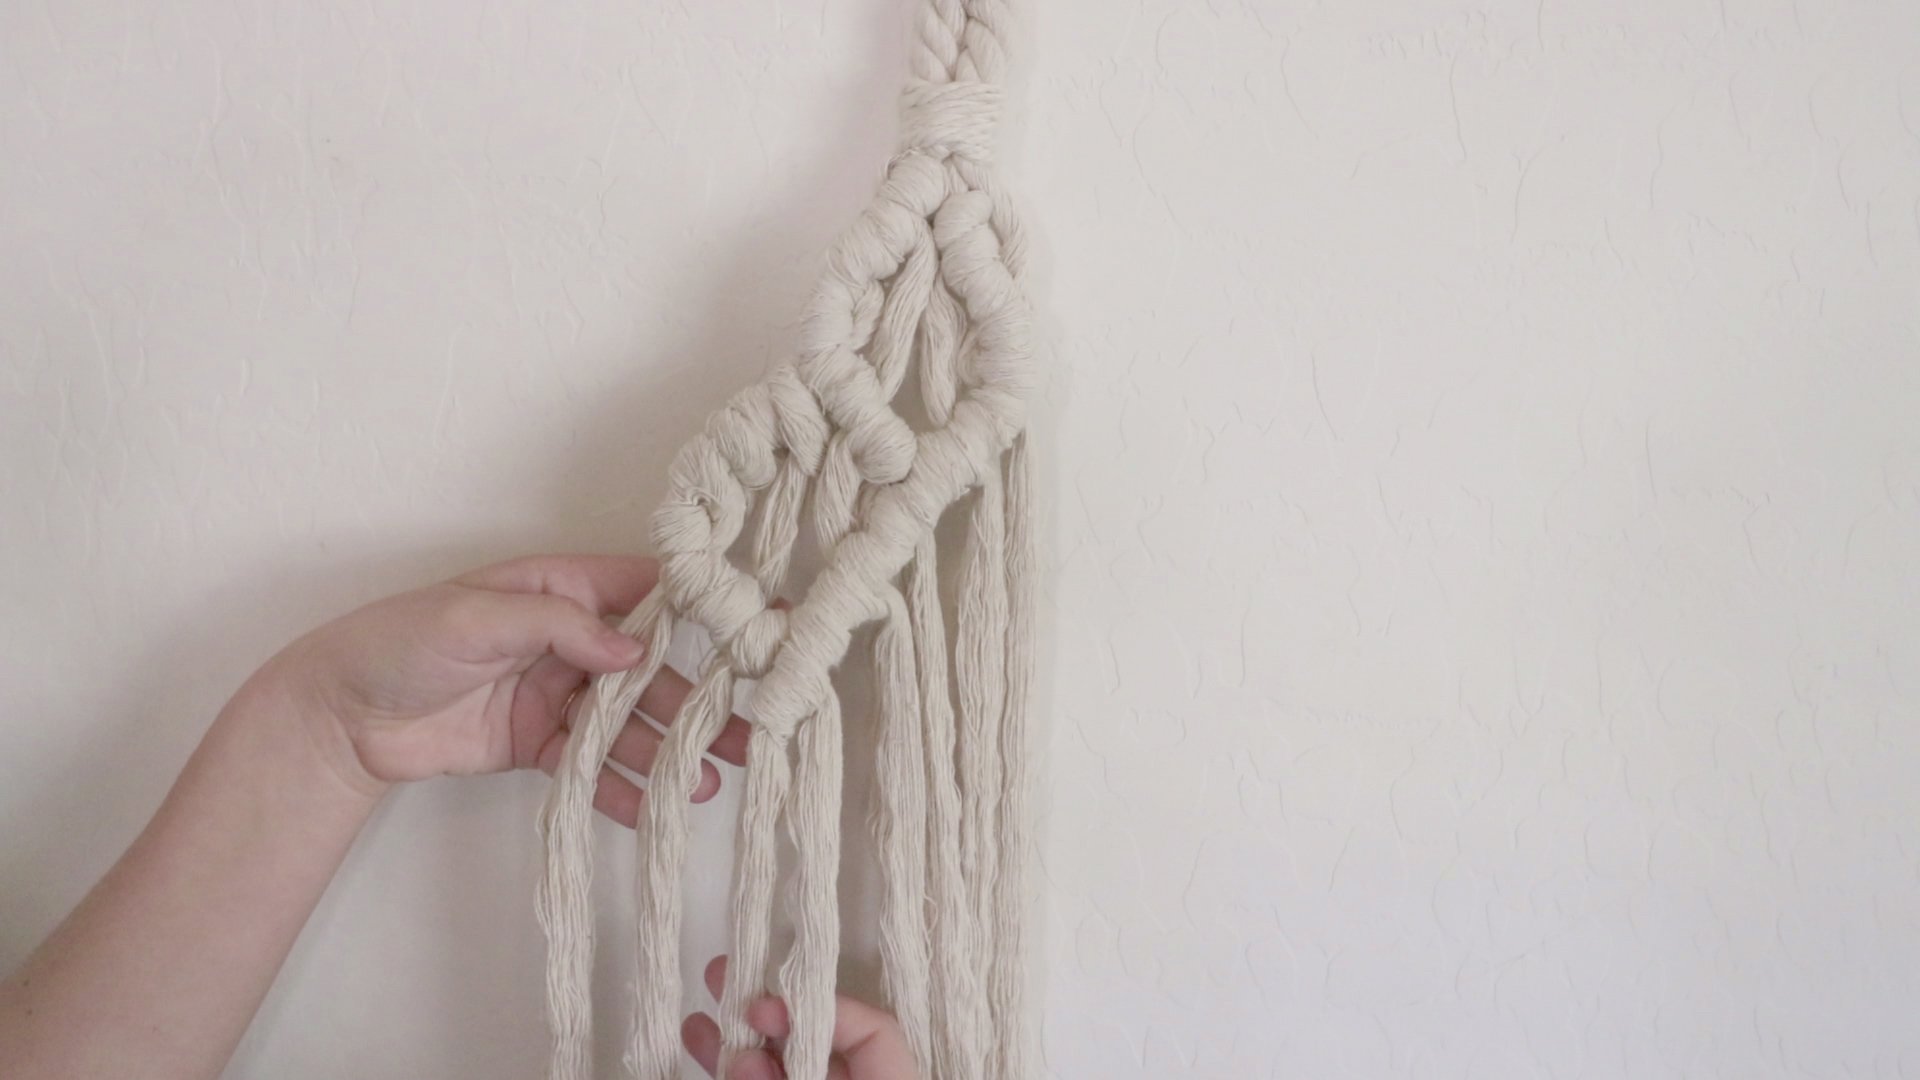
5. Cut another length or 3 ply rope that is 10 feet long and unravel it. Working on the left side of the diamond scallop first, use the top working cord as the new lead cord and add on one of the lengths of rope as a reverse larkshead knot. Now take the right tail from the larkshead knot and lay it over the lead cord, and then reach through the hole to pull it through. Repeat the same step with the left tail from the larkshead so that they resemble clove hitch knots and slide them up snugly against the rest of the knots.

6. Hold the same lead cord diagonally, to the bottom right at a 45 degree angle and add the two tails from the larkshead knot on as working cords with clove hitch knots to complete half of a diamond scallop.

7. Now use the bottom left tail from the first completed diamond scallop as the lead cord, and add on the unused working cord and the last lead cord as the working cord, connecting the half diamond scallop on the left to the center. We will complete the middle diamond scallop later.
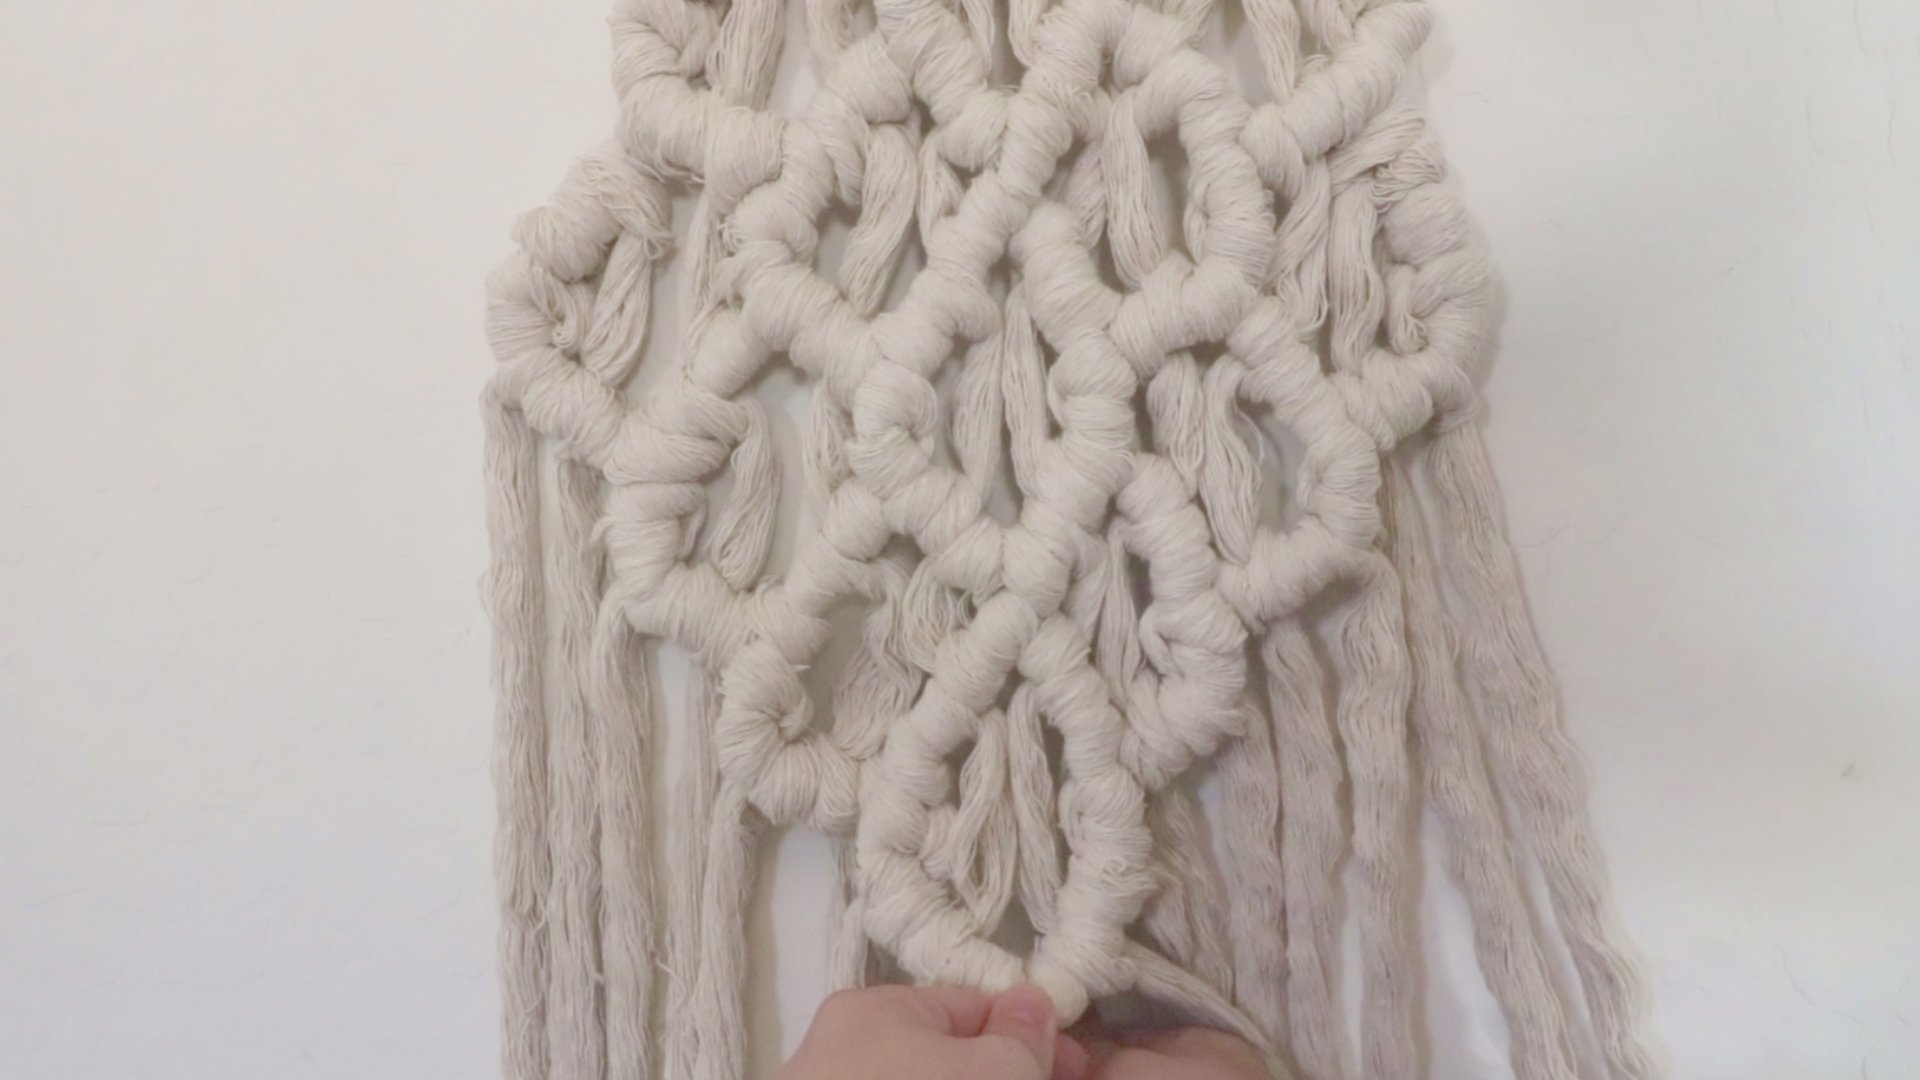
8. Repeat steps 5-6 onto the right side, using the top working cord as the lead cord and adding on a new length of rope as a reverse larkshead knot. Complete the center diamond scallop by bring the lead cords into the center and connecting the two sides. You now have four small diamond scallops, creating a larger diamond.

9. To continue adding on scallops, you will use the same steps from each side. Working from the top down on each side, adding two working cords to each lead cord until they connect at the bottom center again. Add as many scallops as you prefer. When you need to add on more larkshead knots, cut another length of rope that is 10 feet and unravel it into separate pieces so that you can add on more length. You can reference the pattern diagram in the pdf for a reminder on which cords to use as lead cords and working cords.
10. When you have added on as may scallop rows as you want, you can go through and wrap colored yarn around the two longest center working cords in each scallop. This is a great way to add a pop of color into the design, depending on which scallop you choose to add color into.

11. If you want to keep the fringe you can give it a quick trim and be done. If you prefer not to have the fringe you can easily tuck it in. To do this, turn your project around so that you are facing the back. Use some tape to bind the ends, so that you can tuck them in easily without fraying. Starting from the top sides, tuck the tail back underneath 2-3 knots and then trim them up. Do your best to find close, tight knots that will hold the ends as securely as possible.

Viola! You have a gorgeous piece ready to hang. You can access the video below to see me walk through the project. Don’t forget to subscribe to my youtube channel for weekly weaving videos!
