Create a Punch Needle Pouch
Let’s create something as practical as it is gorgeous! I made this punch needle pouch as KNEW I had to share it with you. If you are new to punch needle you will need to check out my punch needle class first to get the basics down first. Don’t worry, you will pick it up in no time! Adding a lining to this pouch is optional, but it helps the inside to look extra polished. Scroll down to read all about the steps for this pouch and make sure you check out the tutorial video and subscribe to my youtube channel!
click below to watch video tutorial:

Gather your materials:
Foundation cloth for punching LINK
Punch needle LINK TO FAV | LINK TO CHEAPER
Yarn (any chunky/bulky size - I used Malabrigo chunky in natural, blue surf and stone blue, which you can find from shops on etsy, but another budget-friendly yarn is Lion Brand WoolEase, which you can get on amazon or michaels)
Printed template
14” zipper
Sewing pins
Fabric of your choice for lining (I used deep blue velveteen like this LINK)
Needle, thread or sewing machine (you can hand sew this pouch if you want!)
Scissors
1. Start by stretching your foundation cloth, if you are punching. I am using monks cloth. Print out the template that you will find in the button above. Cut out the template along the lines and outline it onto the monks cloth. Flip the template and outline the other side as well.

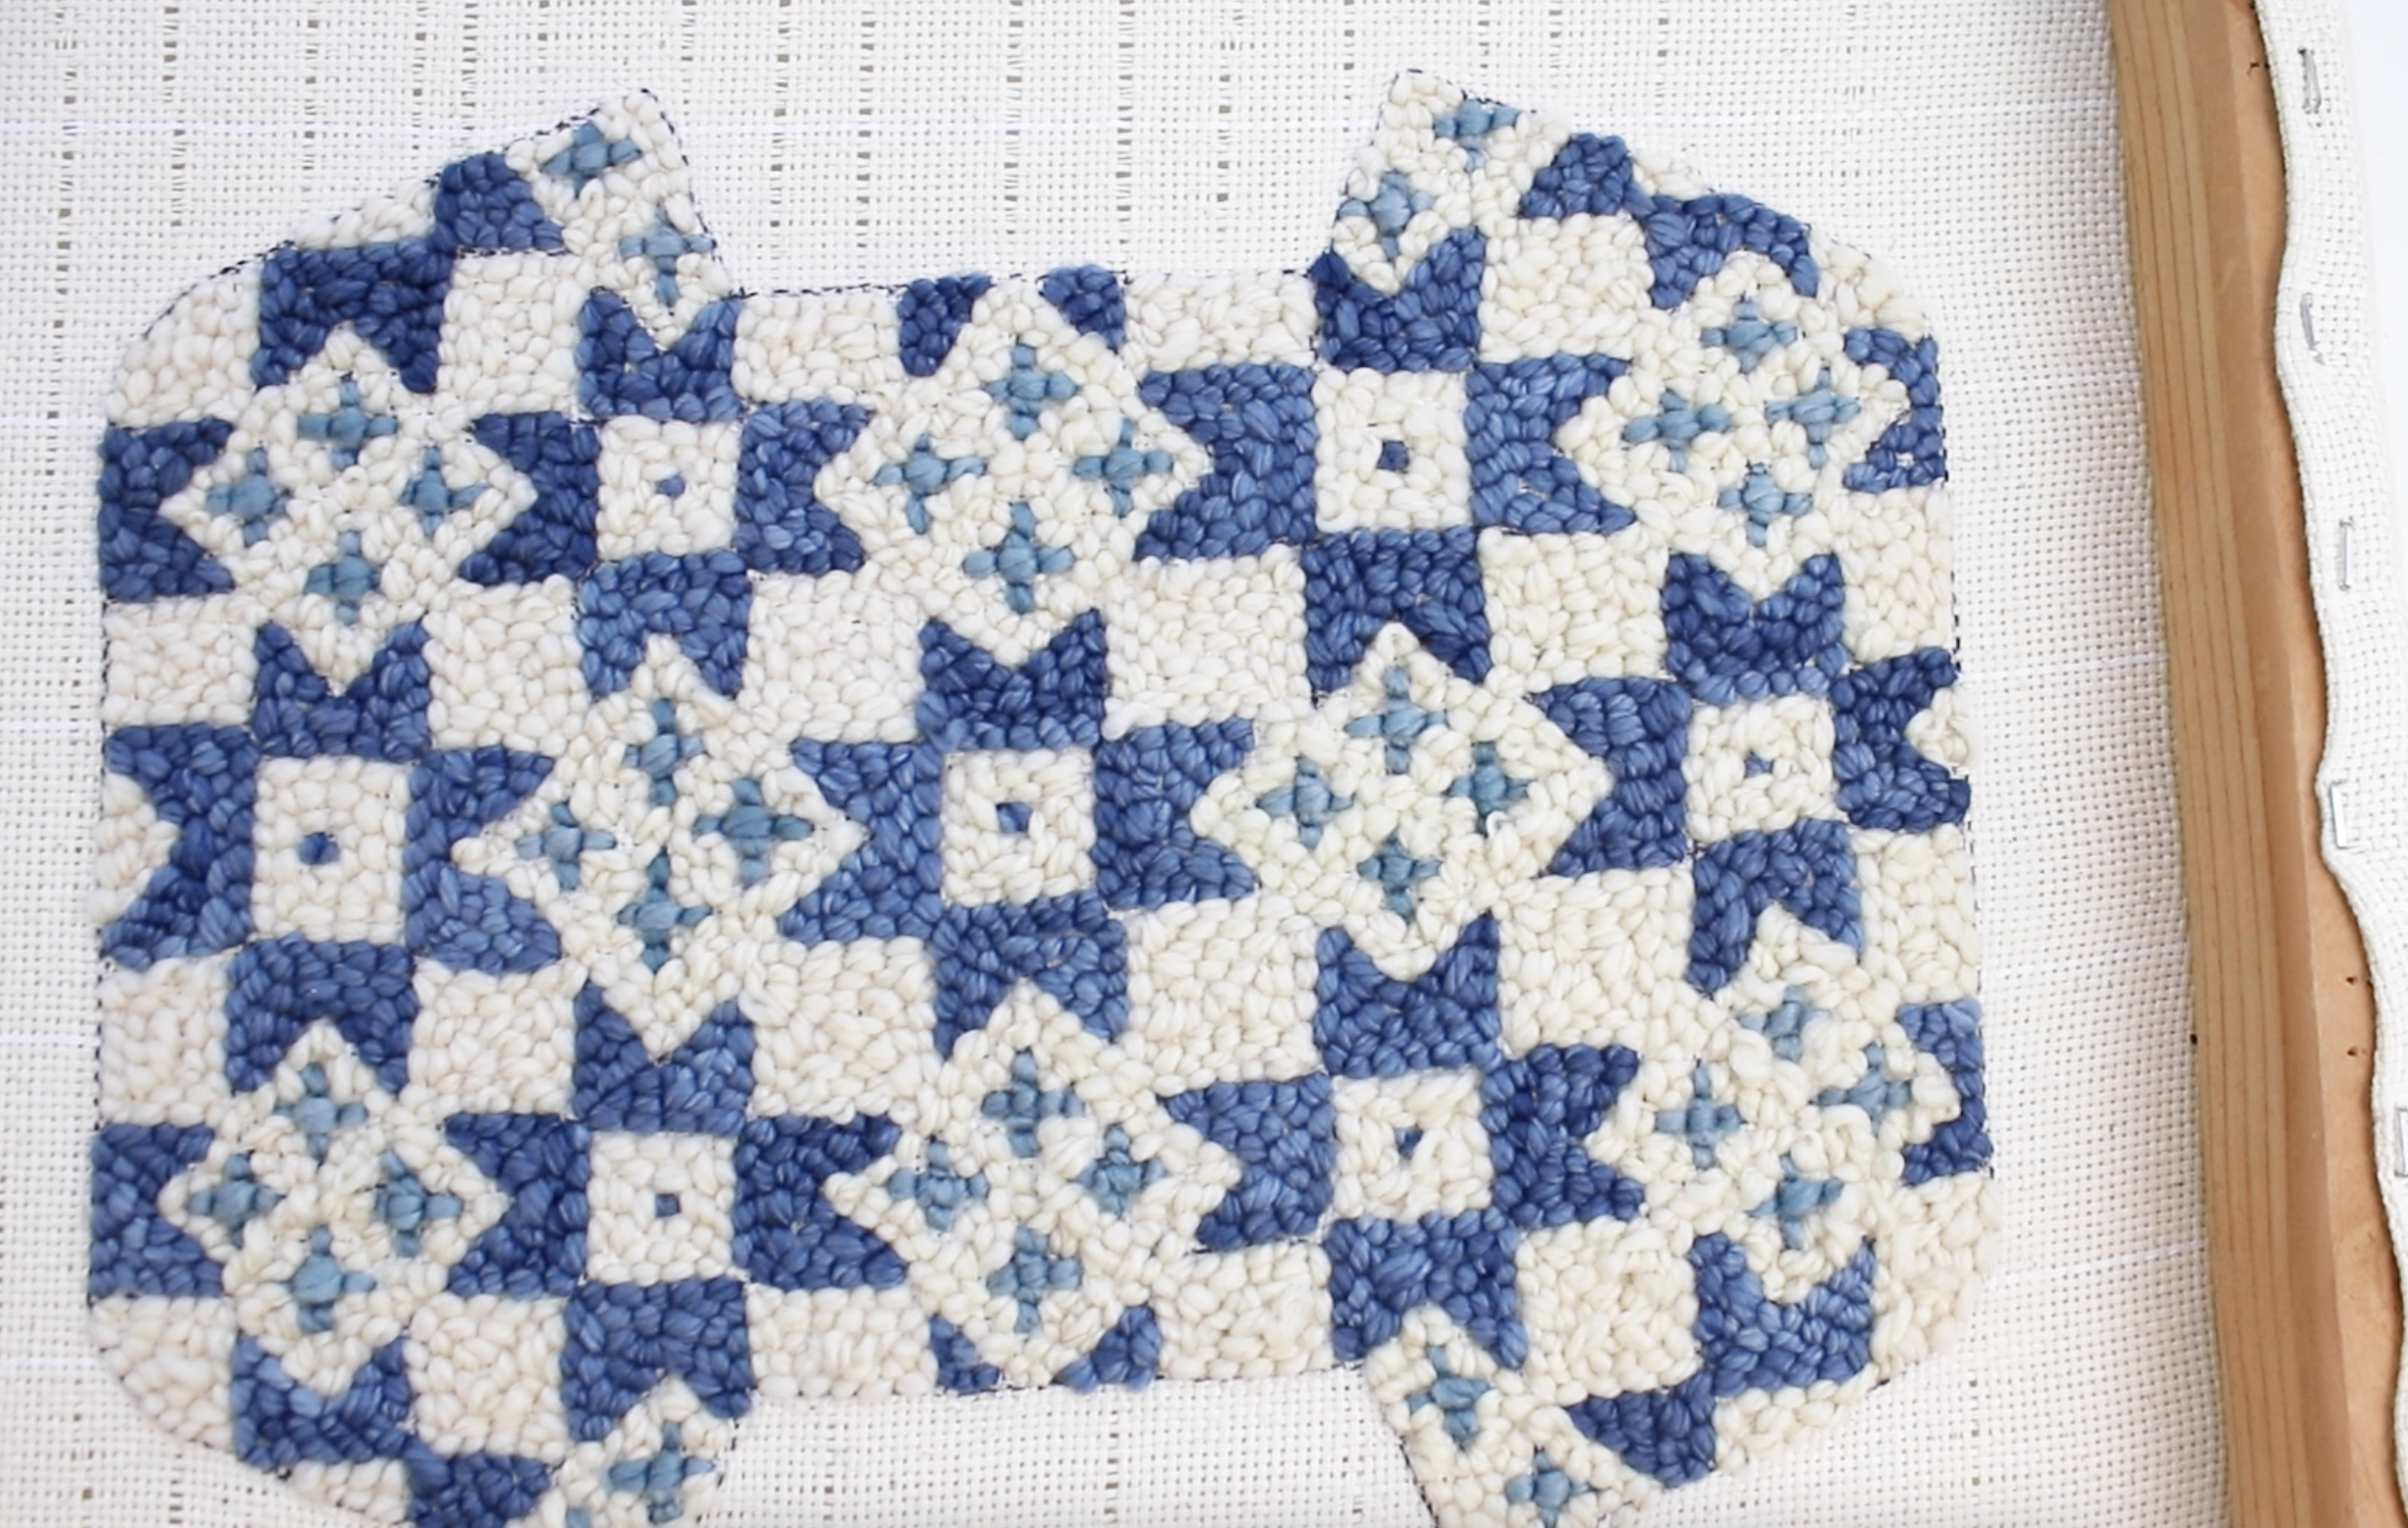
2. You can fill in your project with any design that you want. If you want to copy the stars design that I created, you can freehand them or trace them from the template by marking straight onto your monks cloth. Any lines will get covered up by yarn.

3. Now punch, punch, punch. Choose your colors and punch length. You can learn all about punch needle in my punch needle class, which will help you with this part and teach you all the techniques you need to know. One side will be flat and the other side will have all the bumps.
4. When you are done punching, use a craft glue to outline a ½” border around the outside of the entire pattern and let it dry completely. Spread the glue out so that it is flat instead of gloppy. This will stop the edges of your cloth from unravelling.

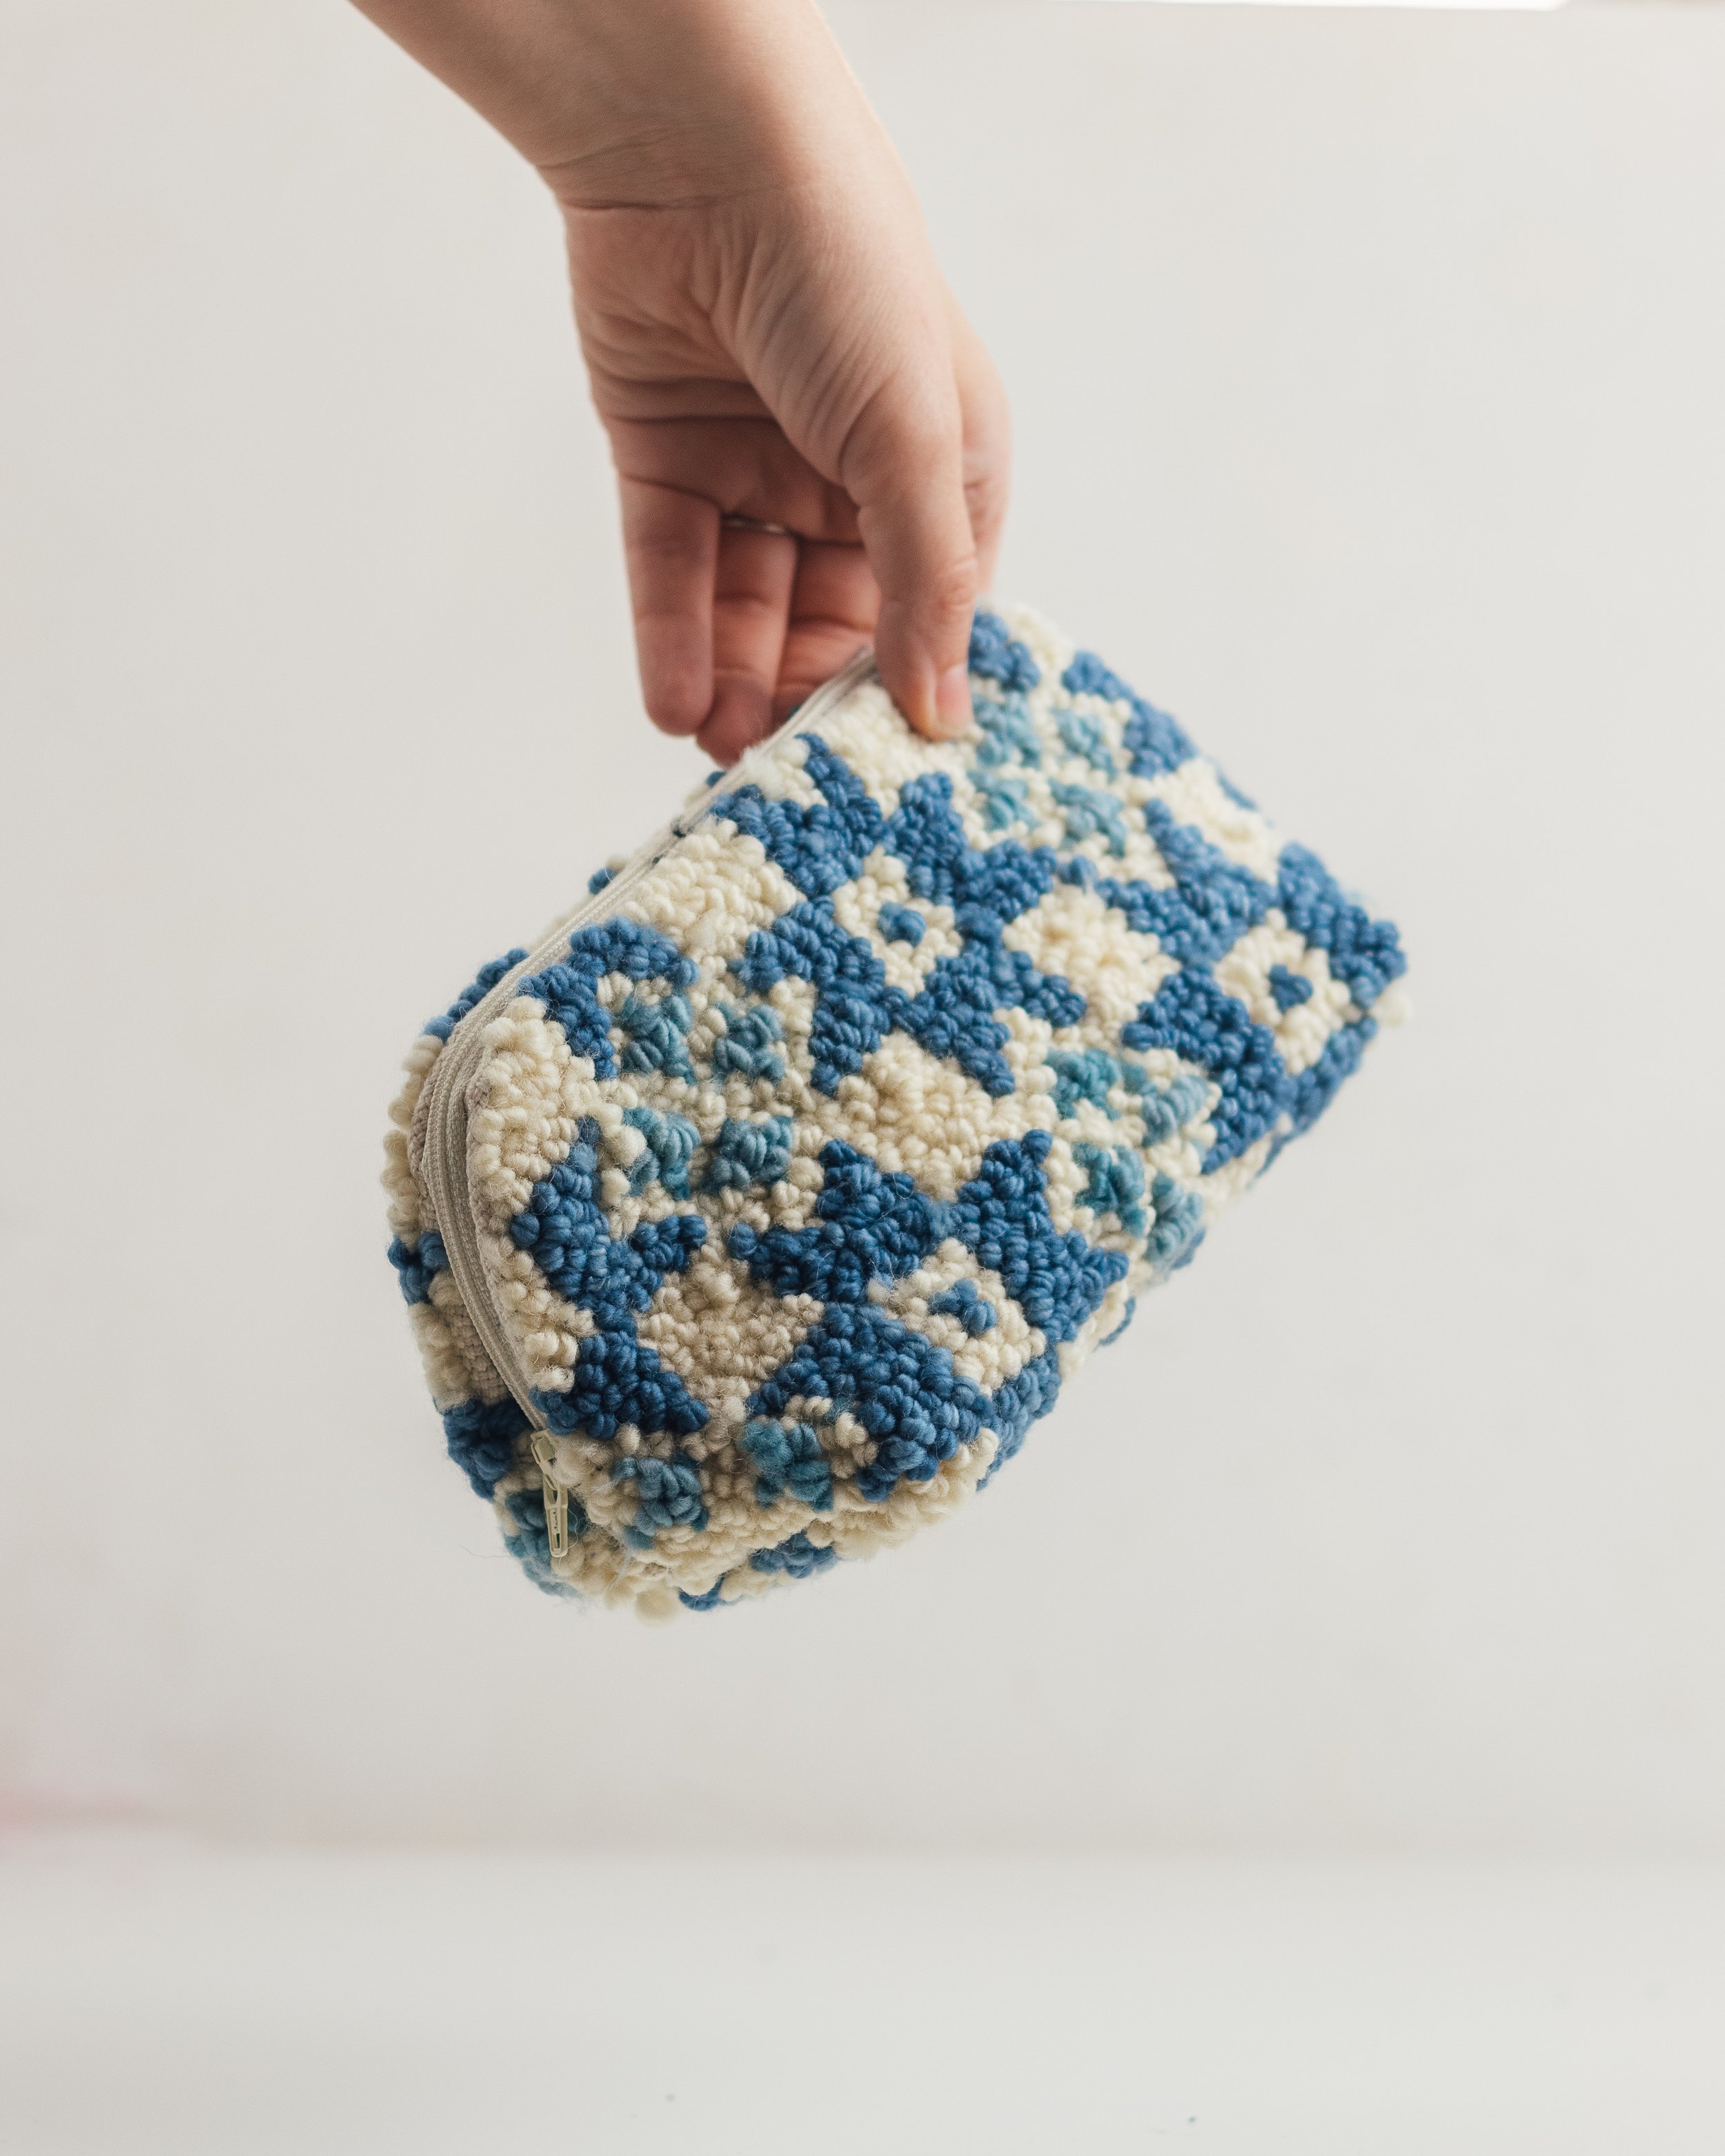
5. Cut out your project along the edge of the glue border. You can see that one side is flat and one side is bumpy. You can choose which side to use as the front of your pouch, but the bumpy side is more durable.

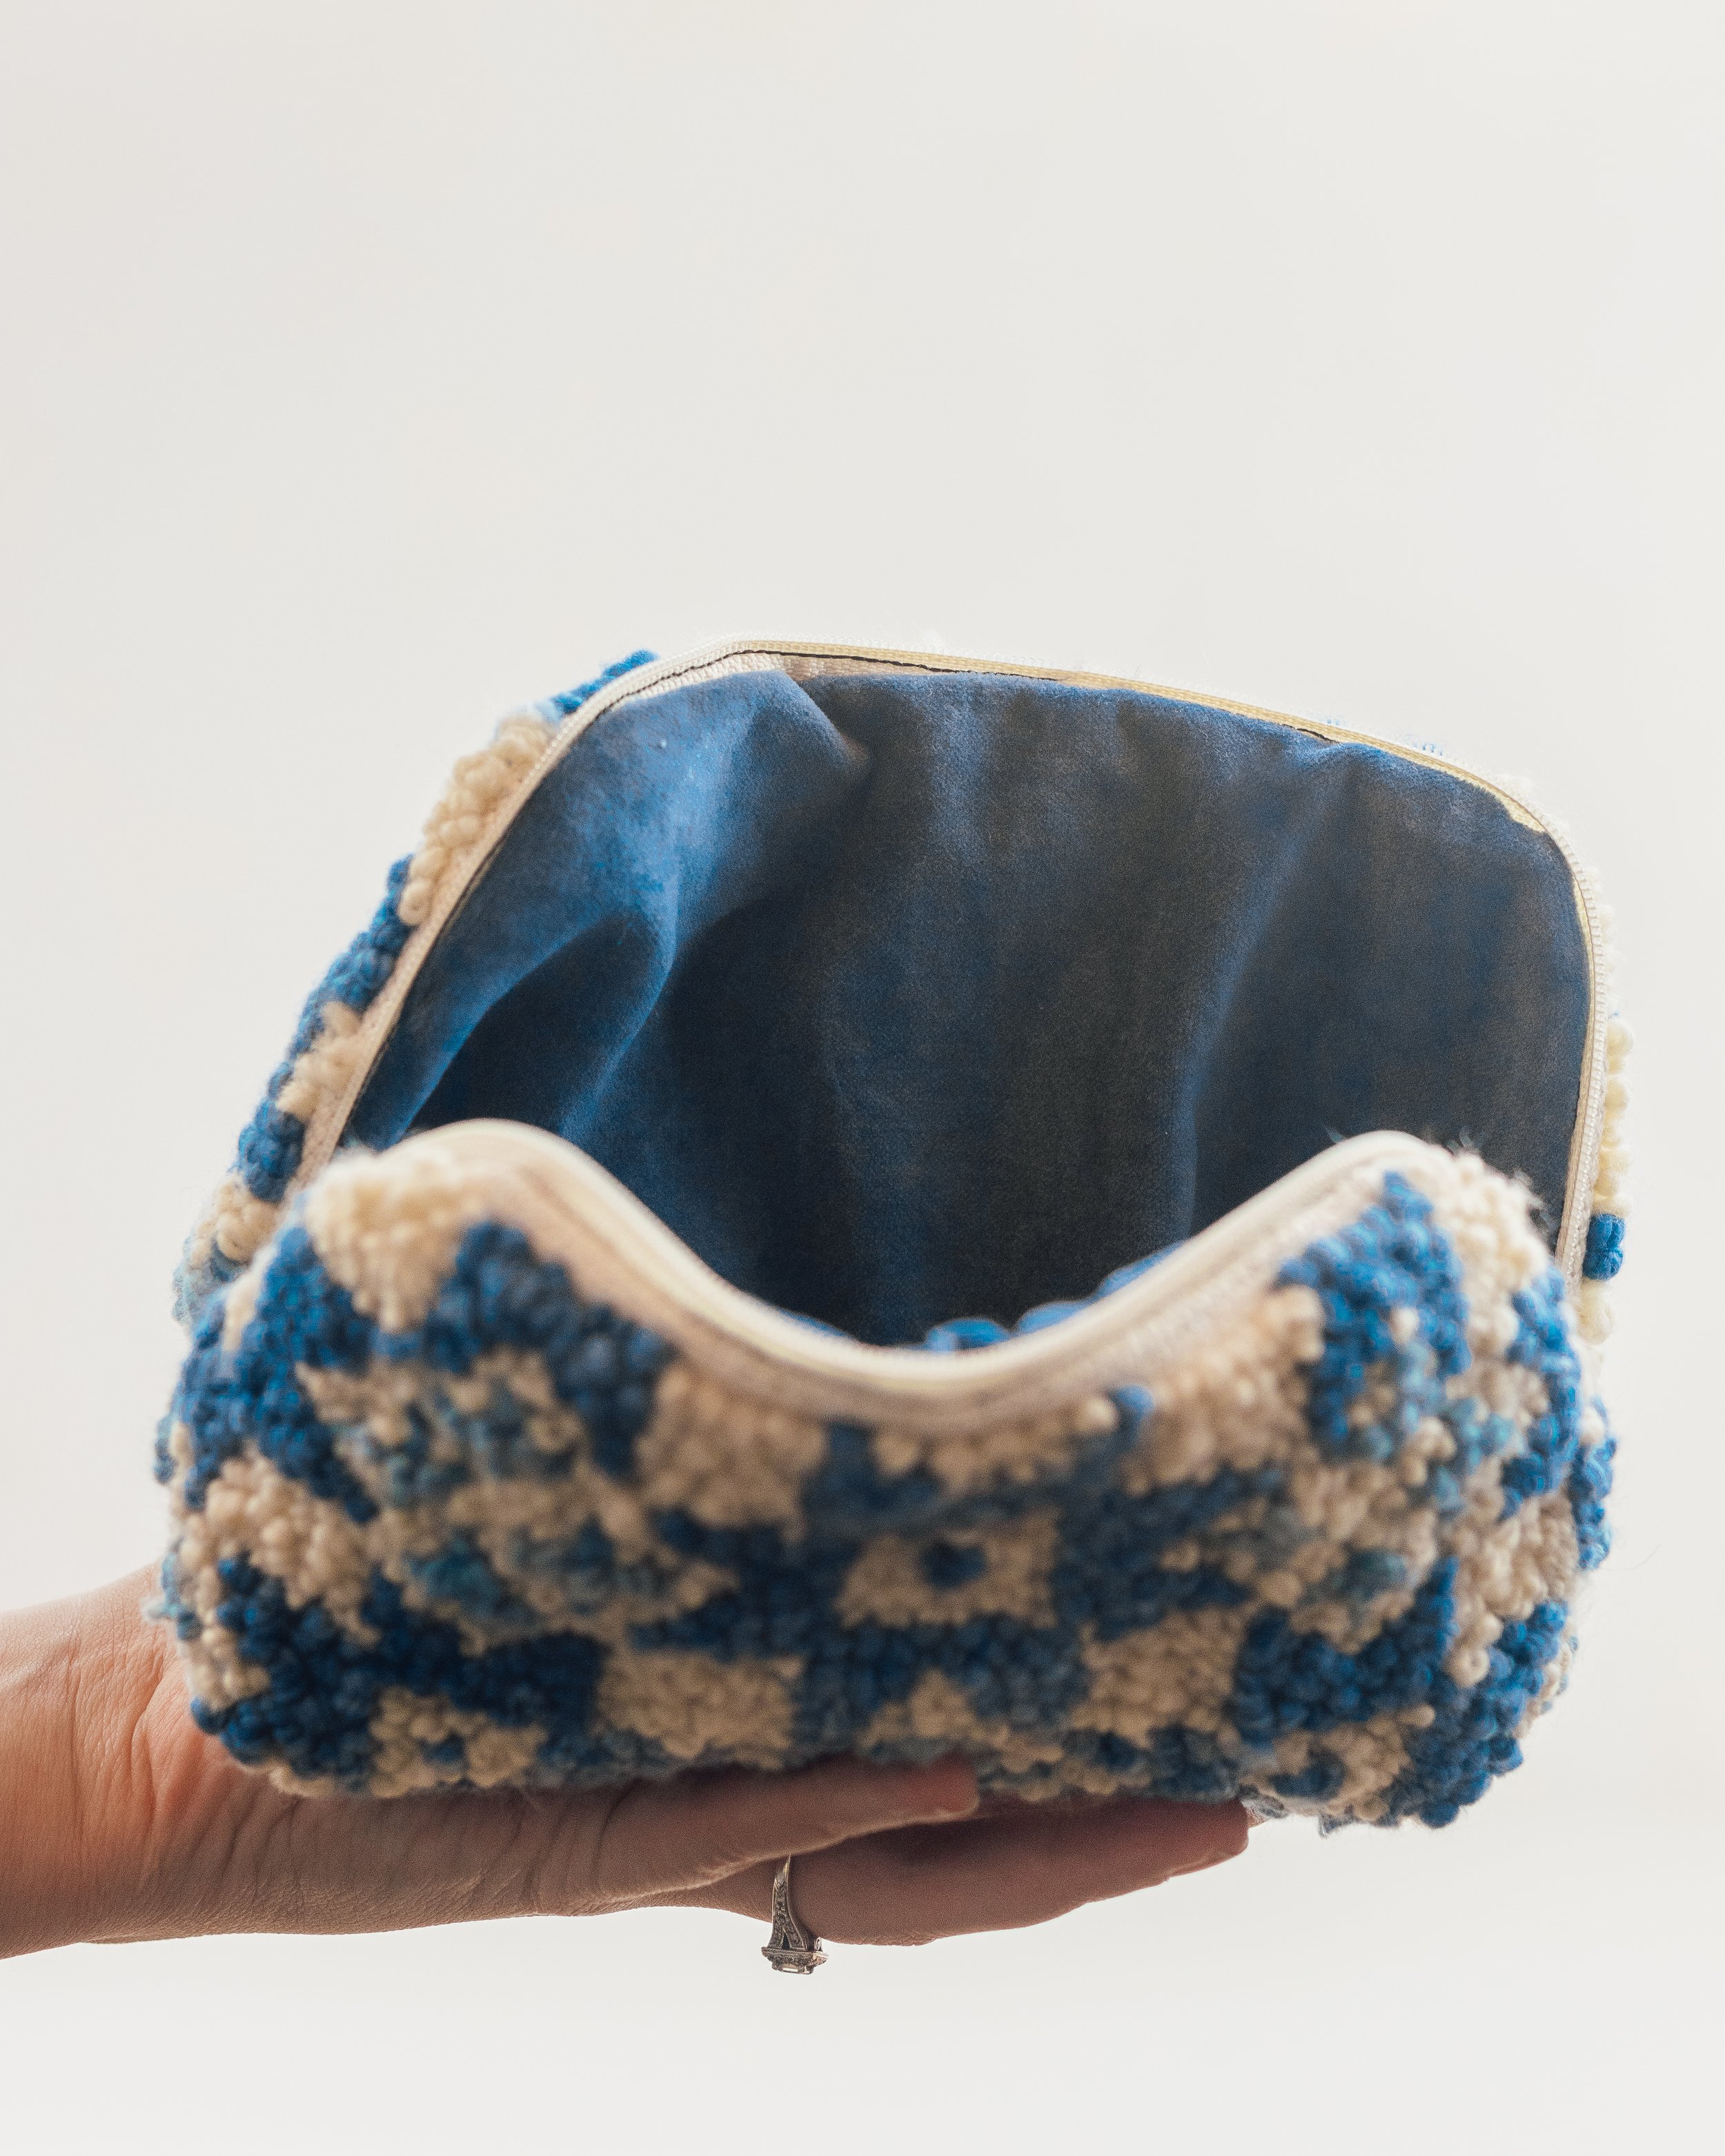
6. You can use any fabric for lining. I am using a velvet. Trace the same template onto the lining and cut a ½” border around the outline.

7. Get a 14” zipper and some sewing pins. Mark the center of each end of the punched design, the center of the zipper, and the lining. Place the punched design face up and the the zipper face down, alining the center points. Move around the top edge, pinning one side of the zipper in place. It helps to cut slits in the zipper around the curves. Open your zipper, and remove one side if you are able so that it’s easier to sew. I found it easiest to sew the punch needle, zipper and lining all at the same time, but you can do them one at a time if you prefer.

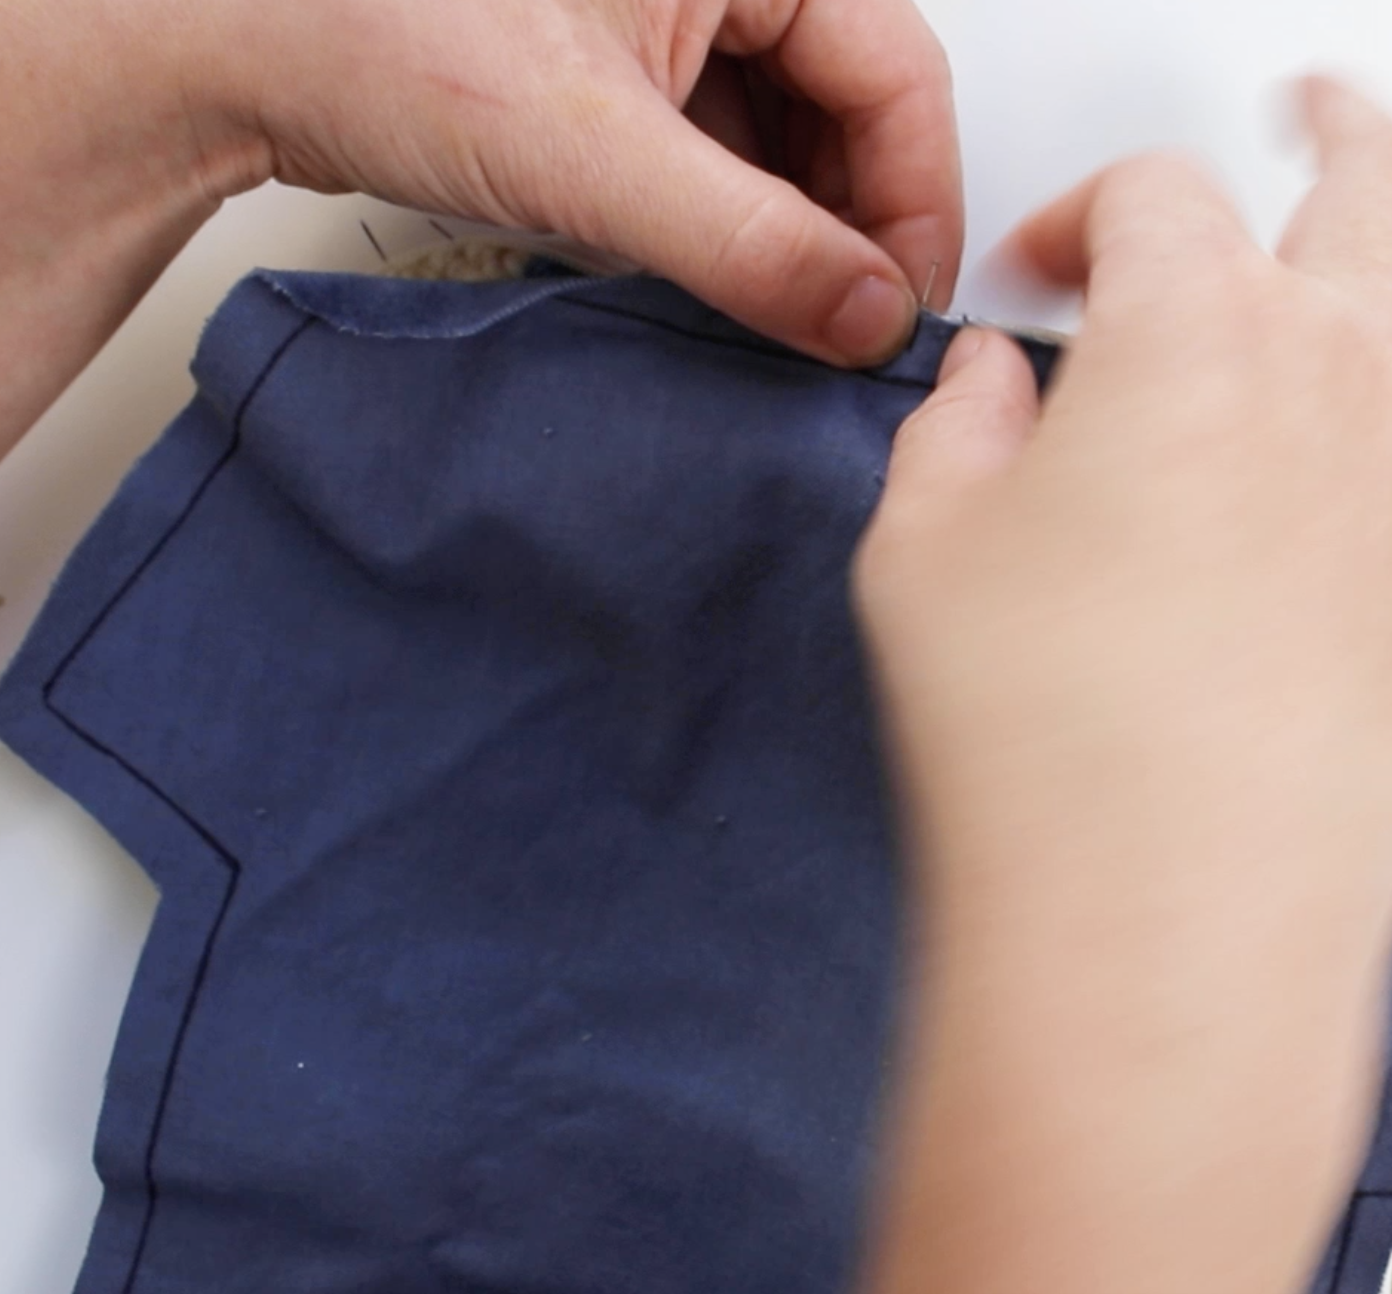
8. Do the same to the other side. The punched design should be facing up while the zipper and lining are faced down. If your zipper comes apart, it is easier to sew. I kept my zipper together which made the corner difficult to sew, so I hand sewed the last inch near the zipper head.
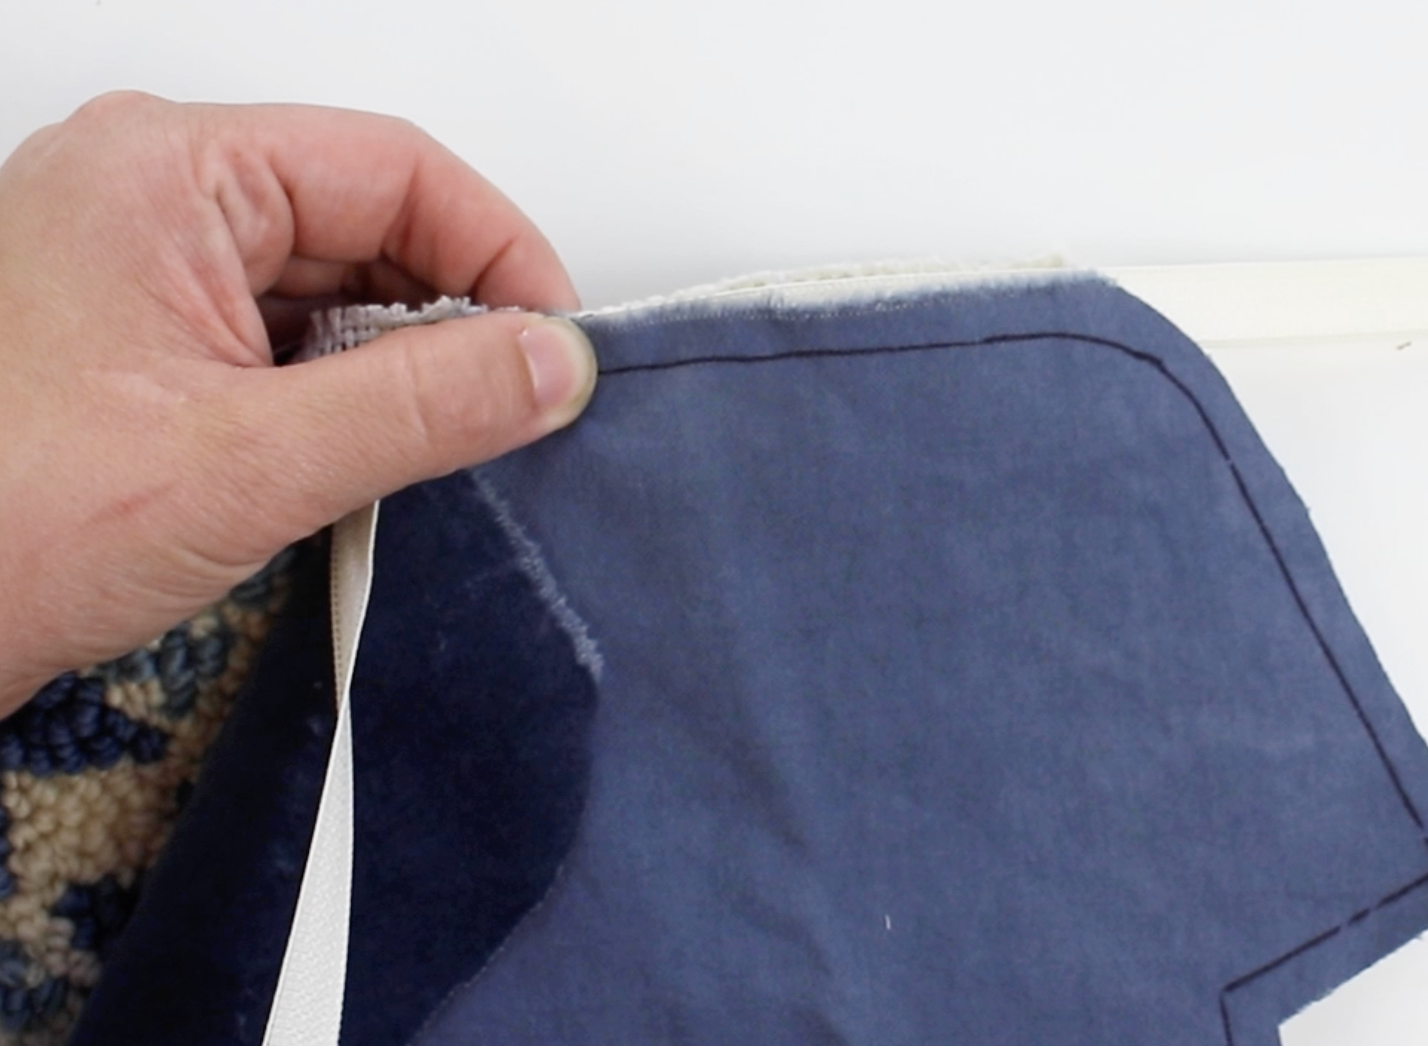
9. When both sides are sewn together, pull the project inside out through an opening on the edge. Turn it so that the lining is on the outside.

10. Zip up the bag halfway while it’s turned, so that you can still reach the zipper inside. Fold the edges of the openings together in a flat line along the bottom and sew them. The punch needle made this seam very thick, so my pins were too short to help and I hand sewed them closed on either end.

11. When both sides are sewn shut, unzip the pouch and turn it right side out. That’s it! Your punch needled pouch is complete.
I hope you enjoy making this fun pouch! Tag me in your photos you post to Instagram @hellohydrangea