
Making and Weaving a Wavy Frame
I love weaving inside frames because it provides shape and structure to the tapestry.
You can watch my tutorial to build your own wooden frame HERE.
And my project to weave a double layered tapestry in a frame HERE.
There’s so much you can try with frames!
So, a few weeks ago I had the idea to experiment with the frame itself. You can watch the whole process in my YouTube video (don’t forget to subscribe!) and let me know what you think in the comments. If you want to learn how to weave, I have dozens of classes to explore this beautiful artform. There are so many things to try!

I don’t have a step by step tutorial because this was an experiment from start to finish, but feel free to explore this idea on your own, and share what you come up with! The first thing I did was draw a thick scallop on some wood and cut out two identical pieces for the top and bottom. I made sure the pieces were thick enough to drill holes into for the warp. I also nailed two supporting bars on the inside of the top and bottom waves. They are completely hidden by the final project!

You can see the top of the supporting bars in this photo. After warping the loom, I just started weaving. You can use whatever materials and design you want, just like any regular weave!
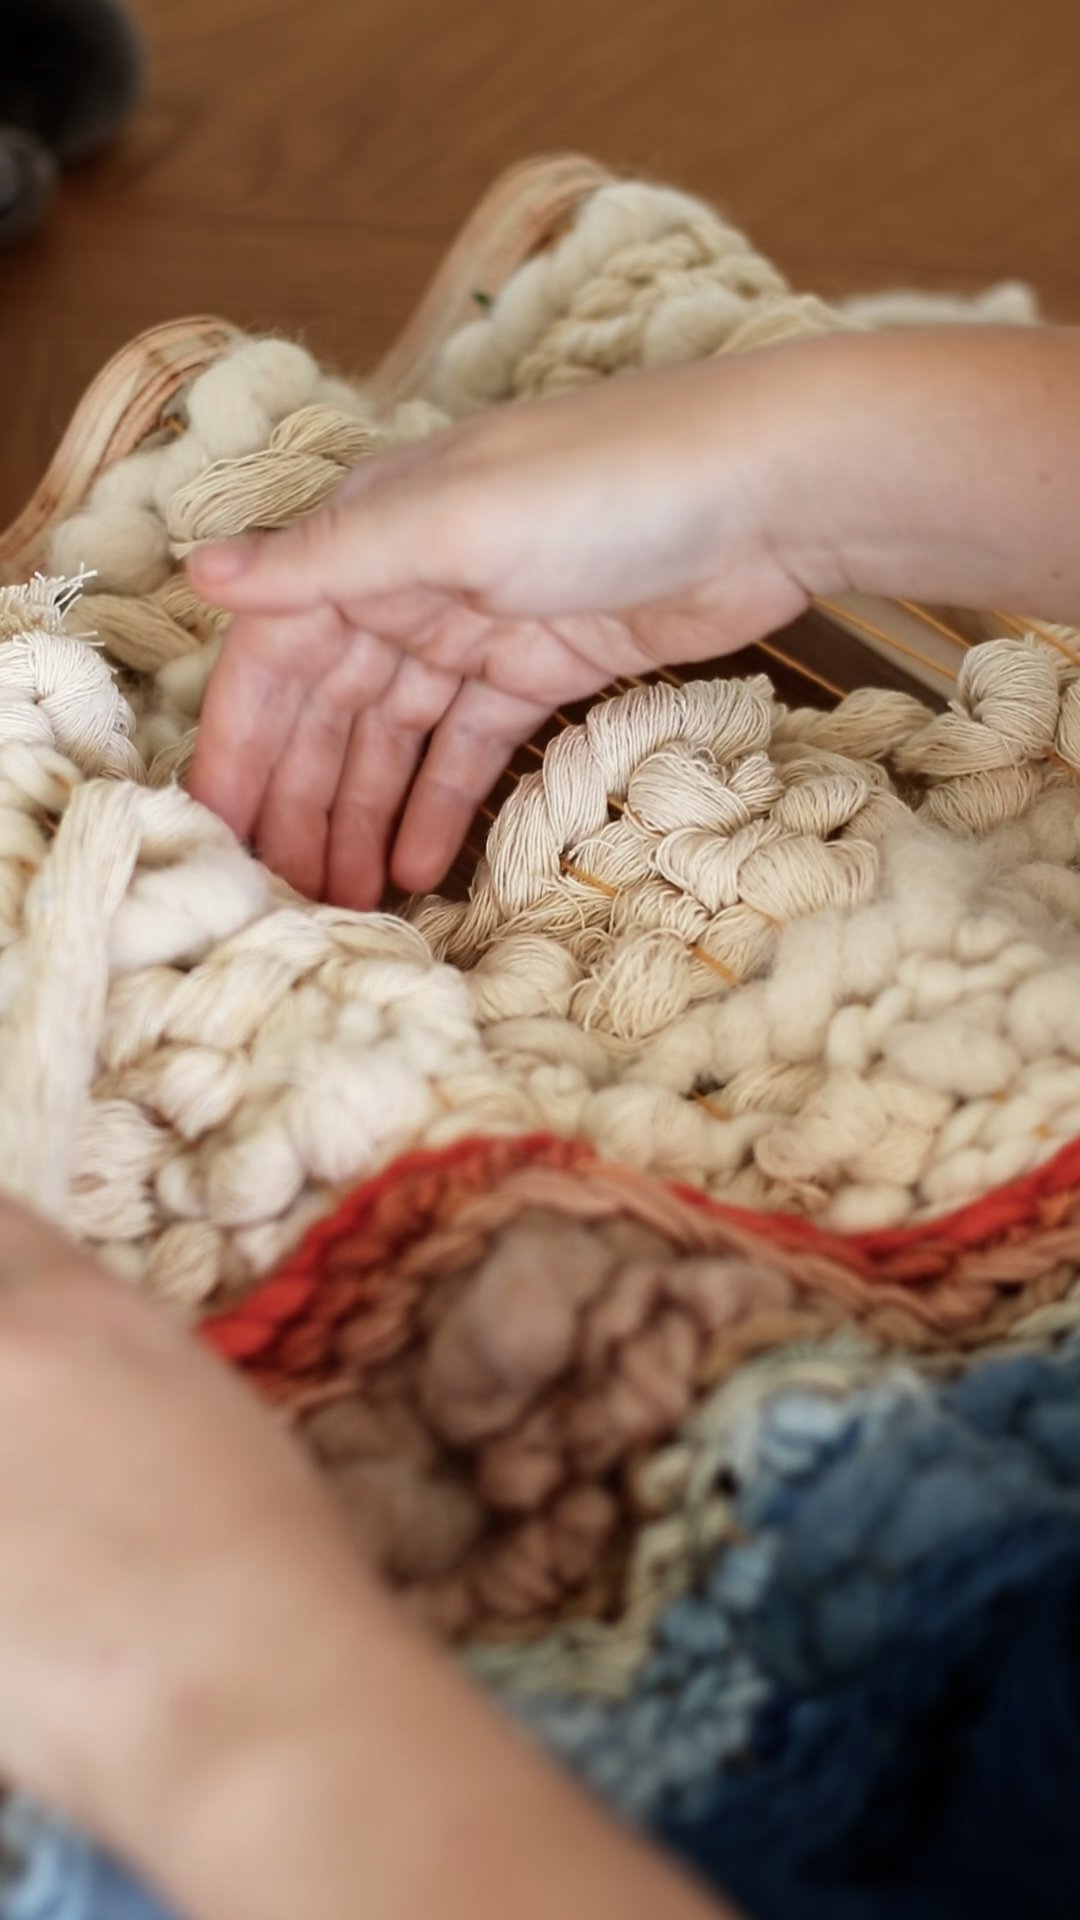
I was worried about the weft pulling the warp flat in the center, where the warp is weakest because its further away from the supports of the wavy wood. I made sure to weave loosely and use techniques like soumak, twining and knotting the most. I liked the look of lots of texture with the wavy warp. I’m happy to report I didn’t have any problems with the warp being pulled straight in the center - it maintained the hills and valleys the entire way!
What do you think of this project? Are there any designs you think would be cool with this idea? I would love to hear!
