
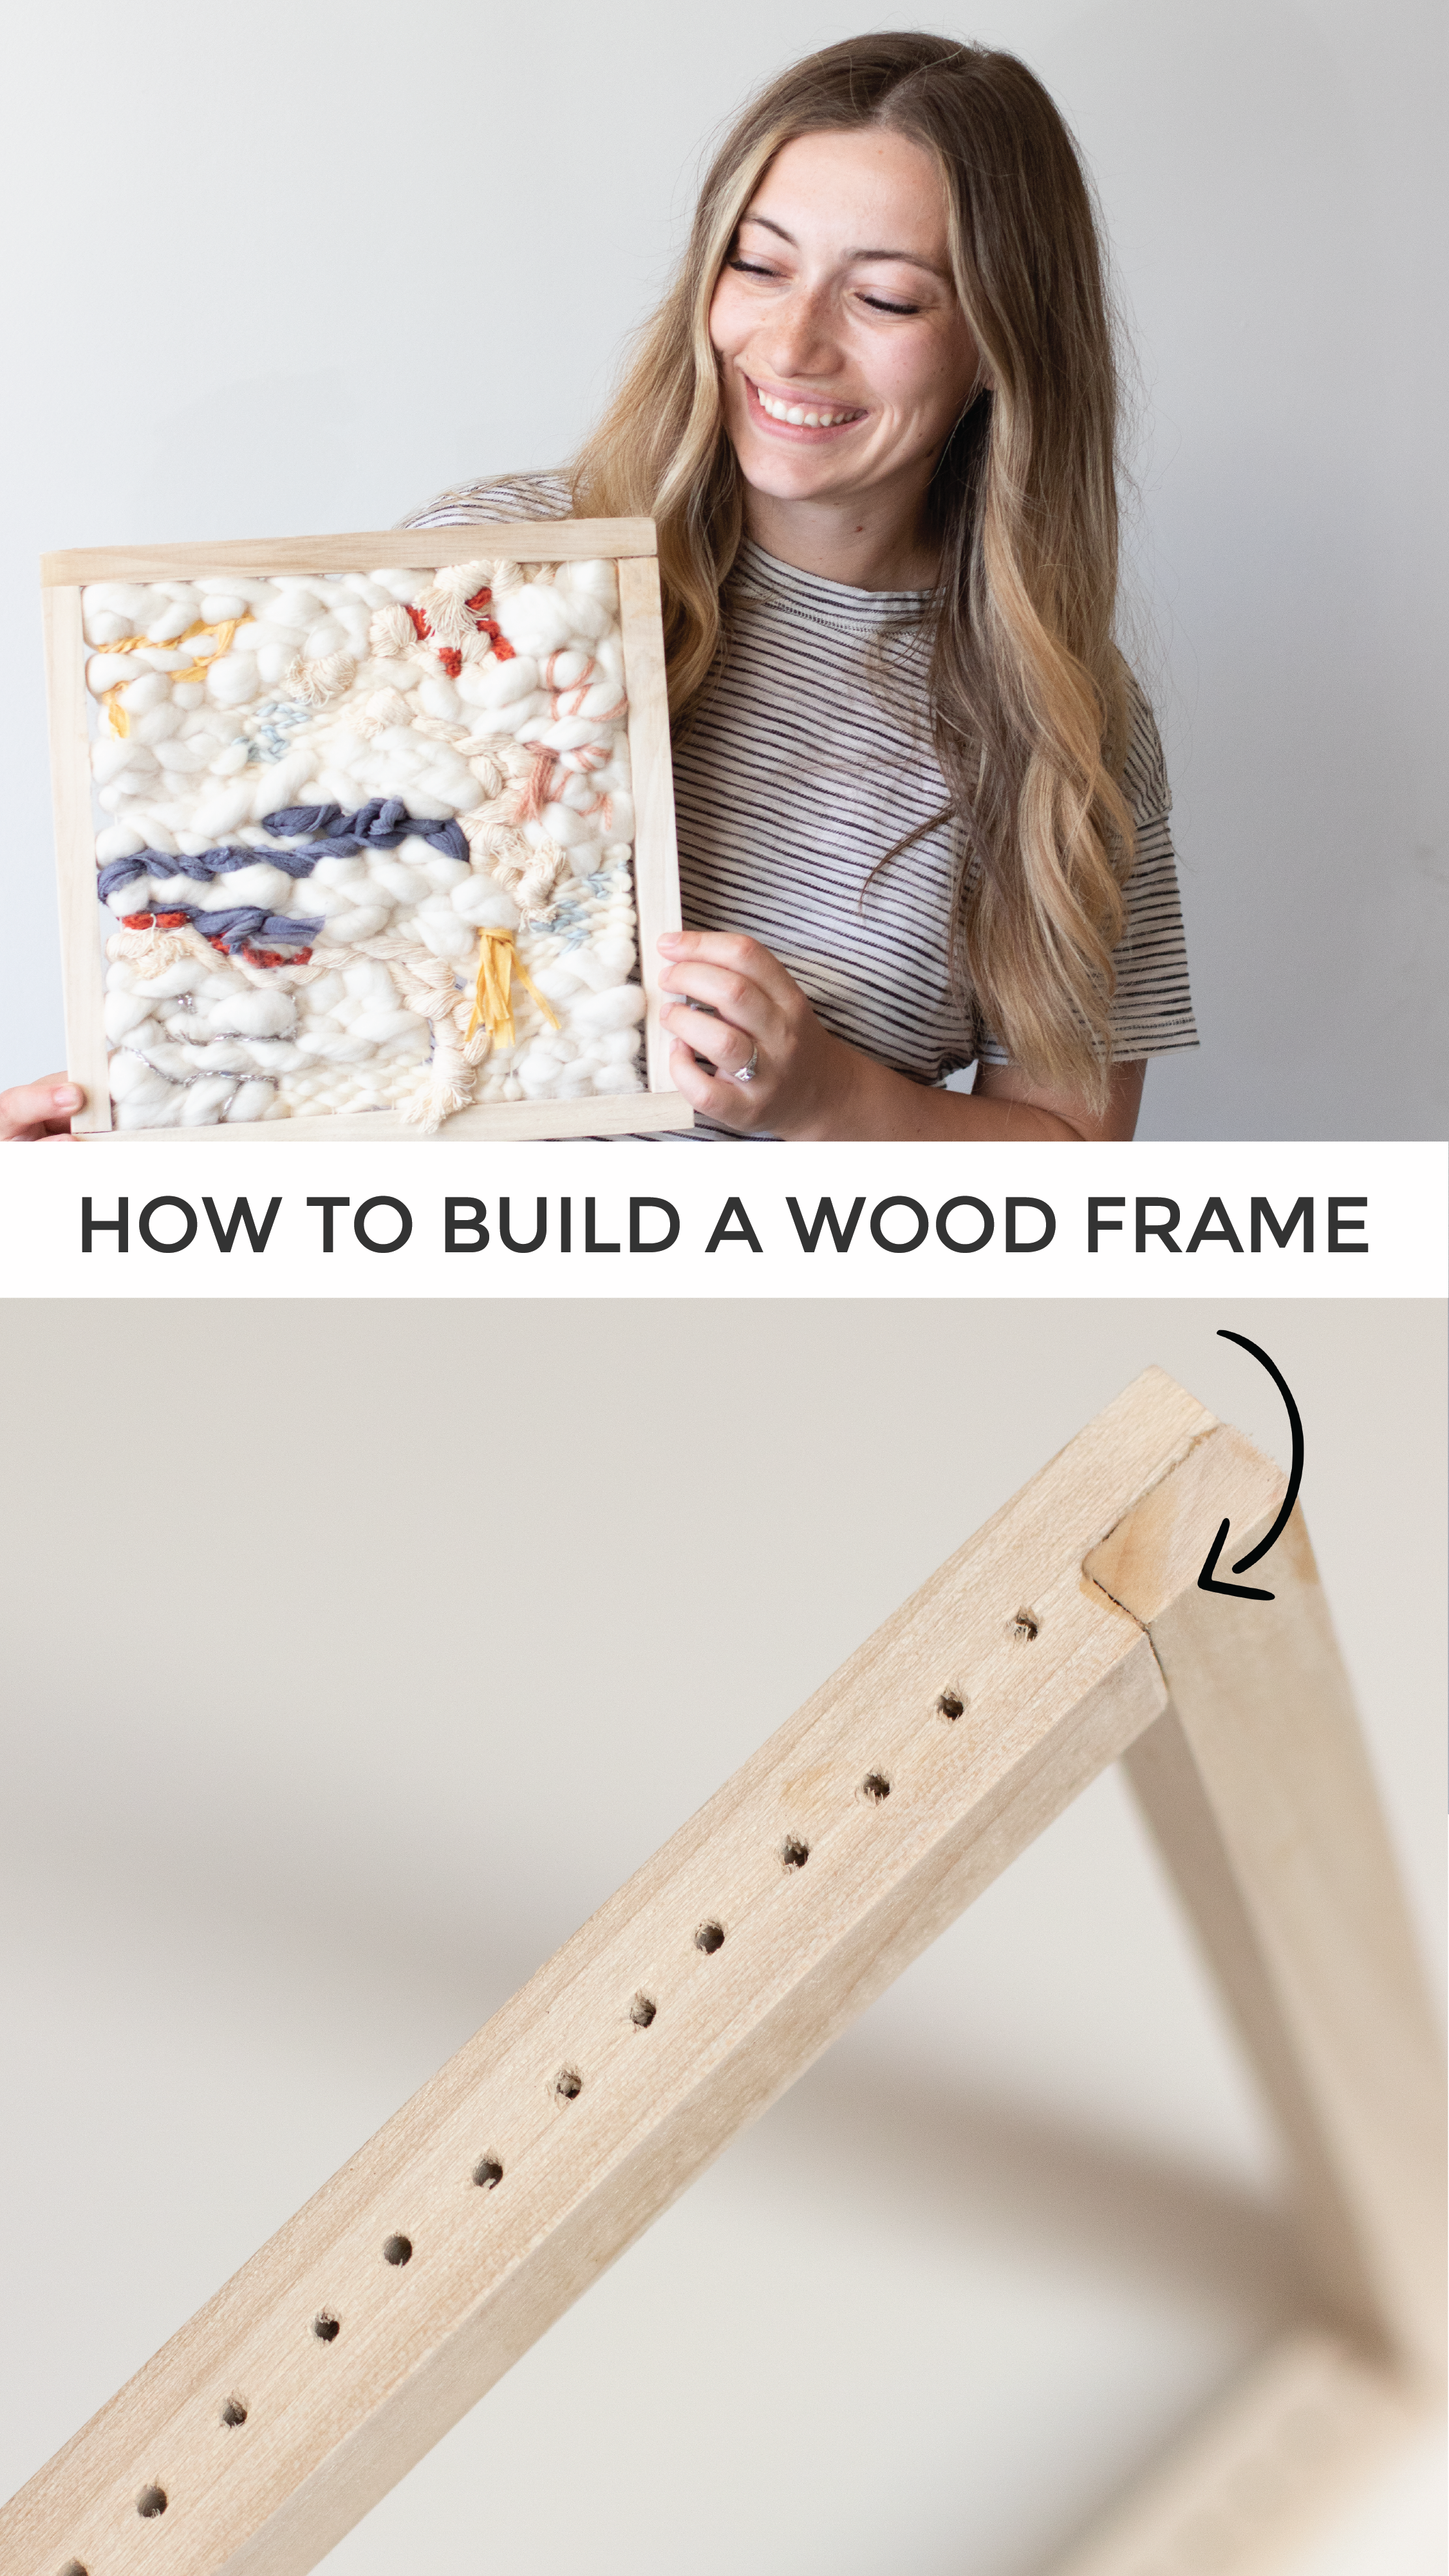
How to Build a Wooden Frame for Weaving
Today I will teach you how to make a wooden frame to weave inside! You can either add holes for warping or skip the holes and warp around the frame. I love the look of textural materials when they contrast the hard border of the wooden frame. The best part about weaving inside this is that you don’t have to worry about how your tension will change when you cut the warp strings or keeping your sides straight. The project will forever live inside the beautiful frame you created.
Scroll to the bottom for the youtube tutorial!
Let’s get started!
Materials:
Wood. Whatever size you want. I got 12x1x1.
A saw.
A ruler
A pencil.
Some screws – which is just optional. I didn’t end up using them.
A drill with a drill bit that’s bigger than your warp string.

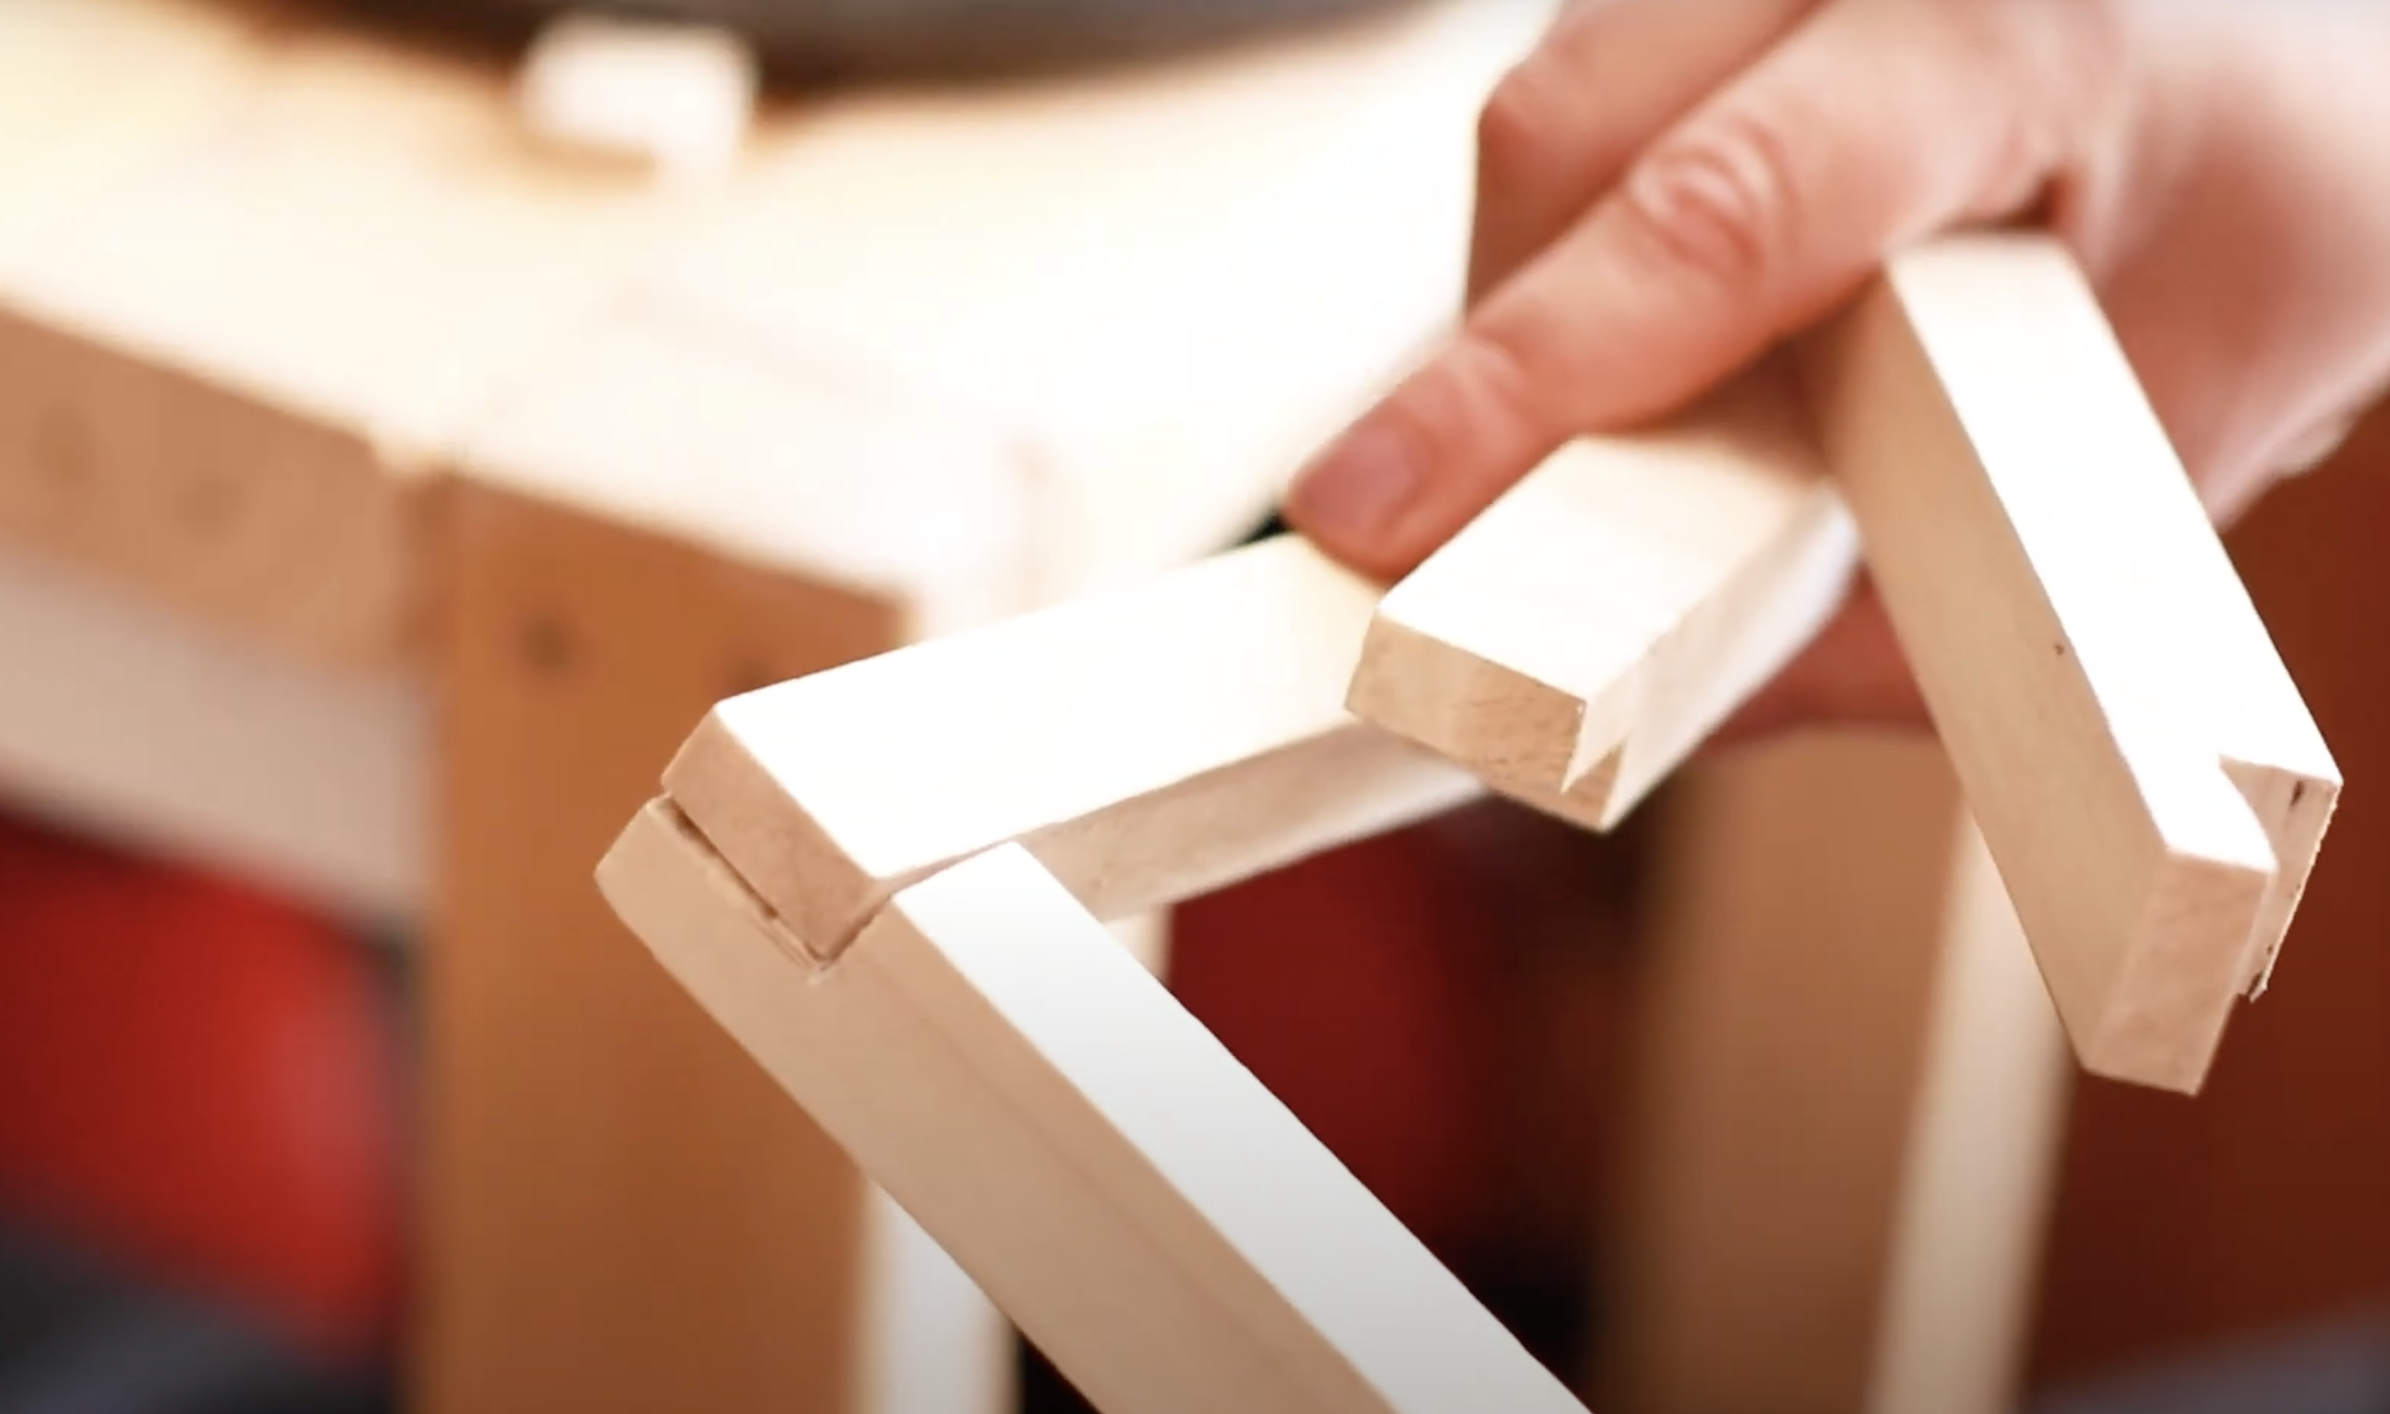
Step 1: Start by marking your wood on either edge to make a lap joint. Measure a distance in that’s equal to the width of the board on the front and mark a line down the center of the two sides. When you’re don’t they will look like this:


Step 2: Now use your saw to cut along the lines on both sides of each board. IT helps to clamp your pieces of wood to a table to keep it still as you are sawing. The cut will come off like this. Do the same to all four sides and they will fit together like this, which is called a lap joint. You can sand the cuts to make them smooth if you want.

Step 3: If you just want to use this for frame weaving, then skip the next step. If you want to have warp strings floating inside the frame, use a ruler to mark a line down the center of the side of two of the pieces of wood. Mark a dot on the center line every centimeter apart

Step 4: Now clamp the wood piece onto a table and use a drill bit that is slightly wider than your needle to drill into each hole. I use a drill bit that was ¼” thick. This is what it will look like once you’ve drilled all the holes. Don’t worry if the wood is rough around the holes. You can give it a quick sand before assembling the frame or sand it all at once when you are done.


Step 5: Now its time to put the frame together. Lay the two side pieces down with the lap joint cuts facing up. Place the top and bottom pieces that have the holes drilled into them down with the lap joint cuts facing down. The frame will fit together like a puzzle.

Step 6: Spread wood glue in the cuts. Use clamps or something heavy to hold the corners of the frame tightly together as the wood glue dries. If any glue runs out of the joints, use a wet paper towel to wipe it up before it dries. Once the glue has dried, remove the clamps. Sand the corners and the rest of the frame.

Step 7: If you added holes to your frame, here is how to warp it. Use a thin warp string and a needle that will easily fit through the holes you drilled. Measure 5-10x the length of the loom and cut the yarn. It is most manageable to warp this in sections.
Step 8: Use the needle to guide the warp from the center of the loom to the outside on the second to last hole. Then go back to the center through the last hole. Guide it up to the last hole on the other side and pull the string through, tying the tail onto the first warp string.


Step 9: Continue guiding the string through the holes on either end. It is best to begin and end your warping by tying the knots on the inside of the frame instead of the outside. That way the knot and tails are easily hidden among the design. Before you finish tying off a section, pull all of the warp strings tight to remove any slack and make sure they have even tension. When you finish a length of string, cut another one and continue warping.

Step 10: Once your frame has warp strings you can weave inside however you want. You can learn more about weaving, including lots of different techniques in my Foundations class or any of the dozen weaving classes that you can find on my website.


You can also watch the tutorial on my youtube page (don’t forget to subscribe!!)
Head to my website at hellohydrangea.com for classes and kits to learn more about weaving. And don’t forget to give me a follow on Instagram to see what projects I’m working on next! Happy weaving!